Easy Chocolate “Doughnut” Cake

Simple Chocolate Cake with Icing

But with a much more lively milk chocolate taste. This recipe is adapted from a standard quick and easy chocolate cake recipe. The icing consistency was an accident. I was going for a thicker decorator icing but this actually worked very well and really reminded me of going to a bakery and getting a chocolate cake doughnut. If you have a doughnut shaped pan, this cake recipe would be perfect for that!

This cake is free of all eight common allergens. The icing is made of pureed beans, confectioner’s sugar and almond milk. If you are allergic to legumes, you could puree a fruit of your choice or use a mixture of jam and your favorite non-dairy milk. Ooo… that just made me think of doing a strawberry icing with this.

The Cake

I. Adjust oven rack to middle position and heat the oven to 350 degrees Fahrenheit and lightly coat an 8-inch square or round cake pan (or your doughnut pan) with vegetable oil.

2. In a large bowl, whisk together:

– 2 cups of your favorite GF flour mix

– 1 teaspoon of xanthan gum

– 1/4 cup of cocoa

– 2 teaspoons of baking soda

3. In a separate medium bowl, whisk together:

– 3/4 cup of mashed banana or applesauce

– 1/4 cup of canola oil

– 1 cup of brewed coffee  (Note: coffee intensifies the chocolate flavor.  No coffee? No problem, use water or non-dairy milk)

– 1 teaspoon of vanilla extract

4. Mix together the wet and dry ingredients until well blended and pour into the pan. Bake until toothpick or knife inserted into the center of the cake comes out clean, about 30-40 minutes. With a doughnut pan, I recommend checking to see if it is finished baking after about 15-20 minutes.

After cooled, cake can be wrapped up and kept at room temperature for about three days.

The Icing

1. In a small food processor, blend until as smooth as possible: 1 cup of white beans such as cannellini or navy, 1 teaspoon of vanilla extract and 1/8-1/4 cup of non-dairy milk.

2. Pour the bean puree into a mixing bowl and add 1/4 teaspoon of salt and 1 pound of confectioner’s (aka: powedered) sugar (example: about 1/2 of a bag of Dominoe’s powdered sugar).

3. Blend until smooth and thick but drippy.

4. Transfer to a small bowl. When you slice a piece of cake, drizzle the icing over the slice and enjoy.

The icing can be stored in a covered container in the refrigerator for about a week. It also goes great on cinnamon buns or buttery cinnamon toast. Yum!

Chickpea Chocolate Chip Cookies

Chickpea Choc Chip Cookies

These cookies are totally free of peanuts, nuts, eggs, gluten, wheat, and dairy.

Why the chickpeas? I ran out of shortening and earth balance but had everything else to make chocolate chip cookies. I really wanted to experiment with an egg-free cookie recipe. But without the fat, I was a little stumped. Could I still do it? Most recipes call for so much of said fat, really, the fat only does two things: add volume and softness. I remembered seeing some posts in my Facebook feed from raw food pages about making chocolate chip cookies using chickpeas. So, I thought I’d try pureed chickpeas and canola oil to replace the fat and 1/4 cup of applesauce to replace the eggs.

After deciding on these replacements, and consulting volume of ingredients from two cookbooks, this is what I came up with: a thick, cake-like chocolate chip cookie that, when paired with a tall glass of non-dairy milk, makes for a very comforting treat. The family raved.

I made these very large because I knew my son would get a kick out it. But you can use this recipe for any size and thickness that you want since these don’t spread out at all like the traditional wheat and butter cookie.

Ultimately, there are five really great things about this recipe: 1. They taste great, just like traditional chocolate chip cookies (my fiance did not know I used chickpeas until I told him). 2. They are totally free of the eight most common food allergens. If there is a legume allergy, use silken tofu instead of chickpeas (do not use tofu if there is a soy allergy) 3. You can eat this raw without worry of salmonella poisoning from eggs. Idea: Stir the dough into your favorite ice cream! (Oh yum) 4. You have the benefit of having total control over the size, shape and thickness of these cookies. 5. You don’t have to buy  expensive fats such as shortening, earth balance or peanut butter, and thus a bit more economical.

So, here is the recipe. Enjoy!

Chickpea Chocolate Chip Cookies

Preheat your oven to 350 degrees Fahrenheit and grease two large cookie sheets.

In a small food processor, add:

1 15-oz can of chickpeas (garbanzo beans), rinsed and drained.

1/4 cup of unsweetened applesauce

1/4 cup of canola oil

2 teaspoons of vanilla

Blend until mixture is very smooth and set aside.

In a large bowl, mix together these dry ingredients:

2 cups of your favorite gluten-free flour blend

1/2 teaspoon xanthan gum (if your flour blend does not have it)

1/2 teaspoon of salt

1 teaspoon of baking soda

1/2 cup of dark brown sugar

1/2 cup of granulated sugar

Stir together the dry ingredients and then add the chickpea puree. Stir and then you may have to use your very clean hands to squeeze and mix the dough until it all comes together.

Add 1 cup of Enjoy Life or other non-dairy chocolate chips and mix.

Shape cookies and flatten to about 1/4 inch thick. Bake on a rack that is closer to the top as these cookies brown quickly on the bottom. Bake for 11-15 minutes depending on the size and thickness of the cookie. They are done when the edges are golden brown. If you want the tops of the cookies a deeper brown color, finish them under the broiler for just one minute.

Serve warm with a tall glass of cold rice, hemp, soy or other favorite non-dairy milk.

Fried Green Tomatoes

Fried Green TomatoesConsidered a Southern dish, it really doesn’t matter where you are from to enjoy this. Pluck some green tomatoes from your garden, fry these and it’s like having mild fried pickles with a fork. Oh, it’s so good. Not everyone likes these, but if you are looking for an allergen-free version, this is it.

Note that these are usually made with cornmeal, but the rice flour in your standard gluten free baking mix will add the sought after grainy texture.

How to make:

In a deep plate or dish, add 1/2 cup GF flour mix, salt, pepper and 1 teaspoon of onion powder.

In a large skillet, fry bacon and set aside the bacon

If necessary, add enough canola oil to the bacon grease to bring the oil up to about 1/4 inch of your slices of tomatoes.

Slice your green tomatoes in 1/2 thick slices and lightly coat each side with the flour mixture.

Gently set into the hot oil and don’t move it. Let it fry on a medium heat for about 5-7 minutes, or until golden brown. Flip and cook the same way on the other side.

Remove from skillet and keep warm in the oven if you like.

If you want to add a sauce, I recommend mixing 1 cup of mayo or veganaise with salt, pepper, onion powder, a little mustard, a dash of apple cider vinegar or louisiana hot sauce (or your favorite hot pepper sauce).

It’s that easy. Enjoy!

Salmon Fagioli w/ Sauteed Balsamic Tomatoes

One word: Delicious.

Additional words: Made entirely from ingredients purchased at ALDI, plus tomatoes from neighbor’s garden.

To make the Sauteed Balsamic Tomatoes:

In a large skillet, heat just a little olive oil or spray with a thin coat of olive oil. Cut up tomatoes in large chunks or halve cherry tomatoes, enough to fill the large skillet (about 15 large cherry tomatoes, or 4 regular sized tomatoes, or 2 pecks of grape tomatoes).

Saute tomatoes with a little salt, balsamic vinegar (not a lot) and a very tiny bit of sugar. Do this until tomatoes are wilted and the juice from the tomatoes becomes thick.

To make the Salmon Fagioli, add the following to a soup pot:

1 can salmon, undrained

1/2 of a 32-oz container of chicken broth

1 cup of water

1 white onion, chopped

1/2 green bell pepper, chopped

2 potatoes, diced into 1-inch bite sized pieces

3 cloves garlic, chopped

1 10-oz can of mushrooms (or fresh if you have them)

1 14-oz can of white beans

1 Tbsp Italian seasoning

1 tsp ground sage

1/2 tsp thyme

1/2 tsp ground mustard

salt and pepper to taste

Boil and bring to hard simmer. Add 1 cup of gluten free pasta and cook until the pasta is done.

Take off of the heat and serve with the sauteed tomatoes. My fiance preferred this without the tomatoes but think the tomatoes would be great in a bruschetta application. So, I guess it depends on your taste (which is why I kept the tomatoes separate). My son doesn’t like tomatoes, but loved the addition of nutritional yeast to give this soup more of a Fish Chowder flavor.

“Just Peachy” Ice Cream

In the late summer, peaches, apricots, nectarines, plums and various stone fruits are in season. This is my favorite time of year because these stone fruits are my absolute favorite. I love peach pie, peach smoothies, peach sorbet, peach ice cream, peach jam. Yummmm.

In the days when I could eat real ice cream and frozen yogurt, I was always annoyed that I needed to work my way down into a pint to get another bite of a frozen peach encased in ice cream. And when I couldn’t eat ice cream anymore and I had to pay $7 or more for a pint of disappointing non-dairy ice cream, it was all good cause for me to respond with a sarcastic “Just peachy,” (if anyone were to ask how my day was going). Well, now that I’m in control of my own ice cream, I can say “Just peachy,” with a little happier tone in my voice. All it takes is a can of coconut milk for $1.79 blended with some inexpensive fresh or canned fruit, and the cost for a pint comes down from $7.00 to about $3.00. It’s so nice to afford this summer treat again.

“Just Peachy” Vegan Ice Cream

4 ripe apricots, peeled and chopped

1 14oz can of peaches in syrup (or the equivalent of fresh peaches)

1 14oz can of coconut milk (NOT cream of coconut) – always double check the ingredients

1 cup of corn syrup or 3/4 cup of sugar

1 tsp vanilla (gluten free)

In a food processor, blend all of the ingredients together. Transfer to an ice cream maker and run it according to your manufacturer’s directions. Freeze and enjoy the next day. Make sure you make more ice cream before you run out of that batch.

Delicious Pancakes

Behold. These are the ones. The pancakes. The IHOP/Waffle House/Jersey Hometown Diner (or whatever happens to be your definition of) oh-my-god delicious pancakes.

So far, the pancakes I have been making have not been worth really talking about on here, except the flourless banana pancakes, which taste more like bananas foster, than anything else. And I posted them for novelty sake. Some like them, some do not. We do. But still, they are not actual flour pancakes.

So, out of some frustration with being too broke to go to the store for the Bob’s Red Mill Pancake Mix (which is what I usually use), I decided to adapt my gluten free flour mix to a recipe in my Fannie Farmer cookbook. I adapted it even further to use oil to save on the cost. And these were born.

Surprisingly spectacular.

Here’s what the wheat eater in my household had to say about them: “Wow, I cannot tell at all that these are gluten free. And they have that nice eggy, fluffy, tender texture, like the pancakes you would get at a really good diner.”

WIN!

So, here they are

Make this GF Flour Mix: 6 cups brown rice flour, 2 and 2/3 cup potato starch, 2/3 cup tapioca flour, 2/3 cup sweet rice flour.  Mix all together and put in a large ziplock bag. (If you can’t find sweet rice flour, you can substitute it with more tapioca starch. If you do that, I cannot guarantee this recipe).

For the Pancakes:

Use 2 cups of the GF Flour Mix for this recipe and store the rest for other baking recipes.

1 and 1/2 teaspoons of xanthan gum

4 teaspoons of baking powder

4 Tablespoons of sugar

1 teaspoon of salt

Mix the dry ingredients well with a whisk.

In another bowl add:

2 eggs

4 Tablespoons of Canola or Vegetable Oil

2 cups of unsweetened almond or unsweetened hemp milk (Note: these milks have a creamier texture and are great for baking. I’m not sure how rice milk would come out. In my opinion, rice milk is so watery that there is no difference in baking with rice milk vs. water. So, I just use water instead of wasting my rice milk if all that I have on hand is rice milk. My recipes have come out fine that way).

Whisk the wet ingredients together. Then mix the wet and dry ingredients together with a wooden spoon. Add more almond or hemp milk (or water) if the mixture is too dense. It should be very pour able, like cake batter.

Then, make the pancakes how you would normally make them. If you are just learning how to make pancakes, see instructions below. Serve with a pat of Earth Balance spread and your favorite maple syrup (make sure it is free of caramel color. Caramel color in pancake syrup doesn’t seem to bother my son. But if it bothers you, use a mixture of light corn syrup and molasses to make an inexpensive syrup).

How to Make Pancakes:

Set your oven to 250 degrees Fahrenheit. (For keeping cooked pancakes warm).

Heat a large non-skillet skillet over medium high heat and, depending on the size pancakes you like, scoop 1/4 or 1/2 cup fulls of batter into the pan. Cook about 5-7 minutes or until dry looking around edges and you see bubbles throughout the pancakes and then flip over. Cook another 5-7 minutes, or until golden brown and cooked through.

Transfer pancakes to a plate in the the warm oven while you are making the 2nd and 3rd batch.

For the pancakes you have not eaten, put them in a large zip lock bag and put them in your freezer for up to 3 months.

Reheat 1-2 pancakes as you need them.

Reheating instructions for microwaves:

Put 2 pancakes on an oven safe plate and cover with an almost sopping wet paper towel (this steams the pancakes and keeps them from drying out). Cook on high for 1-2 minutes until heated through.

Reheating instructions for people like me, who have broken microwaves and can’t afford another one:

Set your oven to 350 degrees Farenheit. Put your desired number of pancakes on a cookie sheet. Cover with about 2-3 sopping wet paper towels to keep them from drying out. Heat for about 5 minutes or until heated through.

Chicken Nuggets

Again, all allergens avoided. And this is very simple and easy to make on a busy weeknight. I just made these for my son and his friend that I’m watching. She doesn’t have food allergies and absolutely loved these and wanted more. How cool is that? They kept eating these nuggets until I distracted them with the banana bread that I had just pulled out of the oven (see previous post). Lol. Enjoy!

Chicken Nuggets

In a bowl, stir together:

1/2 cup gluten free flour mix (see banana bread post for the gf mix I use but it doesn’t have to be exact like it has to be for baking because the gritty of whatever you choose will add to the overall crispy effect of these nuggets).

Then add 1 teaspoon each of salt, garlic powder, onion powder, and paprika and stir well.

Add 1/4 tsp of back pepper if you like.

Then cut up 2 – 2.5 pounds of chicken tenders into 1 inch pieces. Toss into the flour mixture. No egg coating is needed.

Heat 1/4 inch of oil in a skillet over medium heat. When oil gets up to about 325 degrees Fahrenheit,  carefully add the chicken pieces. Cook in two batches if needed and do not crowd the pan. Cook the nuggets about 5 minutes on each side or until golden brown and cooked through. Before cooking the second batch, lower the heat a bit before adding the second batch as the second batch will not cool down the oil as much and may burn.

Thai Chicken and Rice (Tom Kha Style)

thai chicken tom kha style

If you have ever had Tom Kha soup at a Thai restaurant and wish you could recreate those flavors in a hearty meal that is gluten-free, wheat-free and dairy-free then I think you will enjoy this. Thai cuisine typically uses the lemongrass herb for the spring green flavor, but I found that a standard fresh parsley (that is found in almost every supermarket everywhere and sold for a mere buck) worked quite well as a substitute. The secret combination to unlock the tom kha flavor is coconut, chili powder, curry and sunbutter.

If you have a nut allergy and are not sure how you will react to coconut, replace the coconut milk with hemp milk.

If you have an allergy to dairy, check the coconut milk to make sure that is absolutely *always* dairy free. Cream of Coconut has diary, so be careful.

If you do not have coconut milk, you could use coconut oil as it stores at room temp for a very long time and a little goes a long way.

Because I can never be sure of whether coconut milk or cream of coconut is used to prepare thai dishes at restaurants, I just opt to stay home and cook. My son has a better time eating this flavorful dish rather than having to order bland foods at a restaurant because so many things on the menu are prepared in advance with ingredients he can’t have. And this is not hard to make, nor is it expensive. Here is how you do it.

If you don’t have any leftover rice, start making some as a matter of being the first thing you do when you start any meal where you want rice in it.

In a large deep skillet add:

2 pkg chicken tenders (about 1.5 pounds)

1 small yellow onions (or 1 large), cut in half and then sliced

Salt & pepper

Add water about halfway up and bring to boil, simmer, covered, while you prepare the flavor mix

To a small food processor, add the following:

1/2 bunch each of cilantro and parsley
1/2 tsp curry
2 Tbsp coconut oil
3 Tbsp Sunbutter
1 tsp chili powder
1/4 tsp sugar

enough water to blend

Remove lid from skillet and add the flavor mix, let simmer about 15 more minutes until liquid evaporates. Mix in some rice or serve the chicken on top of plain rice.

Top with cilantro, lime and salt to taste.

I think I will add red peppers next time.

Chicken Tamale Casserole

If you love tamales, you will love this casserole. Same ingredients for tamales but no up-wrapping with corn husks. Feel free to wrap in husks in the traditional manner. This is a weekend recipe as it takes 45 minutes to bake once assembled.

20130105-201312.jpg

20130105-194449.jpg

For the topping:

2-3 lbs. chicken breast, cooked, finely chopped
1 yellow onion, chopped
1 Tbsp cilantro, chopped (optional)
2 Tbsp chili powder
1 tsp cumin
2 tsp garlic powder
1 tsp salt
1 can of diced tomatoes with green chilis, 8-10oz

For the tamale crust:

2 cups gluten-free masa
1 Tbsp oregano
2 tsp baking powder
1/2 tsp thyme
1/2 tsp salt
1/2 tsp pepper
1/4 cup olive oil

Preheat oven to 375 degrees Fahrenheit. Put a saucepan of water on stove (about 3 cups) and bring to boil. Set aside. Meanwhile, cook chicken in in deep skillet, use water to keep it from sticking to pan. Cover until cooked through and no longer pink. When cooked, chop up and return to skillet and add remaining ingredients. Stir and cook. Taste and adjust seasonings, if necessary.

In a medium mixing bowl, stir together all of the dry ingredients. Then, add oil and 2 cups of hot water.

Coat a baking dish or pan with non-stick spray or oil. Spread tamale mixture in bottom and top with chicken.

Cover with foil and bake for 45 minutes to an hour, or until tamale crust is set.

Optionally, add shredded daiya on top, or rice vegan cheese, and let it melt a little before serving.

20130105-194514.jpg

Banana Cornmeal Pancakes

20121225-192943.jpg

So, if you look up flour-less recipes on the Internet, you’ll come across a really cool one that calls for two mashes bananas, two eggs all mixed up and cooked in a skillet like pancakes. Surprisingly, despite the very runny liquid egg mixture, they “pancake up” pretty well and with syrup, tastes almost like bananas foster.

However, if you want to add a bit of nutrition and density, add 1/4 cup brown rice flour (or regular rice flour) and 1/4 cup white or yellow cornmeal. Top with chopped walnuts or peanut butter or whatever makes you happier about your breakfast. Kid ate these as is and was very happy. I think I’ll add a tsp of gluten-free vanilla extract next time.

Mediterranean meets a Mexican Rice Dish

20121225-192155.jpg

large can of crushed tomatoes (24 oz)
2 cans tuna
2-3 tsp capers
1 tsp sugar
1 Tbsp Italian seasoning
1/4 tsp ground thyme
Salt and pepper to taste

Heat this mixture in a skillet over med heat and cover while you make some rice.

There, dish is good as is. Or if you are crazy like me, add some scrambled eggs, pickled jalapeños and sliced black olives to this.

I don’t even know what to call this but it was yummy. We all loved it, including the kid.

Roasted Sweet Potatoes with Red Onions and Thyme

I made this up, but someone else probably did too and I haven’t had time to see if that is true. Anyway, this is simple:

4-5 yams, peeled and cut into 1/2 inch disks
1 red onion, large dice
Coat in olive oil, pepper and salt to taste.

Roast in a 350 degree oven for about 45 minutes or until potatoes are fork tender.

Toss with a few dashes of ground thyme and ground curry.

Yum!

20121225-191916.jpg

“Cheesy” Salmon and Eggs

salmon and eggsThis is easy, filling and allergy kid loves it. You will need:

1 yellow onion, chopped

1 can of salmon (14 oz), drained

5 eggs, whisked

1/4 cup daiya cheese or 1 slice of rice vegan cheese

1 tsp Italian seasoning, garlic powder and paprika

salt and pepper to taste

Heat about 2-3 Tbsp vegetable oil in a large skillet over medium high heat. Saute the onions until soft but not browned. Add the salmon and cook for about 3-5 minutes. Lower the heat to medium. Pour the eggs over the salmon and onion mixture and let cook until it firms up on the bottom a little bit. Sprinkle the seasonings evenly over the top and start flipping and cooking until eggs are done.

Turn on the broiler and position oven rack to top level. Serve portions of the salmon eggs on oven proof plates and sprinkle with cheese. Put the plates on top rack under the broiler heat for 1-2 minutes (WATCH and don’t do anything else, broiling is QUICK!). Your goal is to melt the cheese a little. Keep the plate under the broiler a little longer if you want the cheese browned.

The broiling step is not necessary. You can add the cheese to the egg mixture in the skillet if you prefer to skip the broiling. I use the broiling method so I can put real cheese on my eggs and the daiya dairy-free cheese on my son’s plate.

Serve with veggies of your choice.

Add-in ideas:

Saute mushrooms with the onions

Use spring or green onions in place of yellow (often a better flavor for eggs)

More ideas: rehydrated or oil-cured Sun dried tomatoes, olives, capers, roasted red peppers, salsa, taco sauce, green chilis, nutritional yeast, chopped parsley, or cilantro. (Always check ingredients on product jars but these I generally use to add flavor to gluten-free and dairy-free entrees.)

Rice Krispie Treats

20121203-094546.jpg

20121203-094629.jpg

Kellogg’s Gluten Free Rice Krispies are a great addition to the gluten-free and dairy-free diet. You just have to make sure that you get gluten-free marshmallows. Remember that even a little bit of hidden gluten is not good for anyone with Celiac Disease. Please make the effort to stop by your health food store and get the gluten-free marshmallows.

To make it non-dairy as well, use Earth Balance non-dairy spread and coat pan and spatula with non-stick canola oil spray instead of butter.

The results are delicious and just like the original.

With the recommended substitutes, follow the recommended recipe on the Rice Krispies website: Rice Krispie Treat Recipe

Note: they say that margarine and diet spreads are not recommended for this recipe. However, the Earth Balance is made of palm, safflower, canola and olive oil and the heat is low for this recipe. I have had zero problems with taste or texture when using Earth Balance in place of butter.

Cornbread Dressing (aka Cornbread Stuffing)

If you live in the North United States, this is called Cornbread Stuffing. In the South United States, this is called Cornbread Dressing. Whether it is called dressing or stuffing, it is delicious. It is a savory bread pudding where half of the bread is replaced with cornbread. It adds a nice texture and depth of flavor that most find very comforting, especially in the South United States where cornbread is served more often and associated with childhood memories.

Some people prefer to actually stuff their holiday turkey with this and cook it that way, while many others prefer a safer method of baking it in a pan in the oven. I have not yet practiced safely cooking stuffing inside a turkey, so I use the pan method. In my opinion, this is the most delicious savory dish on the holiday menu. Ladle with turkey gravy and it is exquisite.

A word of advice: make the cornbread and the rolls the day or night before if you can. Although, if you have a late evening holiday dinner, you could very well start this process in the morning, but it could still set you back significantly with timing. Because you are on a GFDF diet, you have to bake everything from scratch. While some of your counterparts are whipping up a box of Stovetop prepacked stuffing within minutes before serving dinner, or have ready made breads available to put this together, this will cost you extra time. The stuffing itself doesn’t take a lot of time and is pretty easy. But you need to make the bread and cornbread. So, here goes:

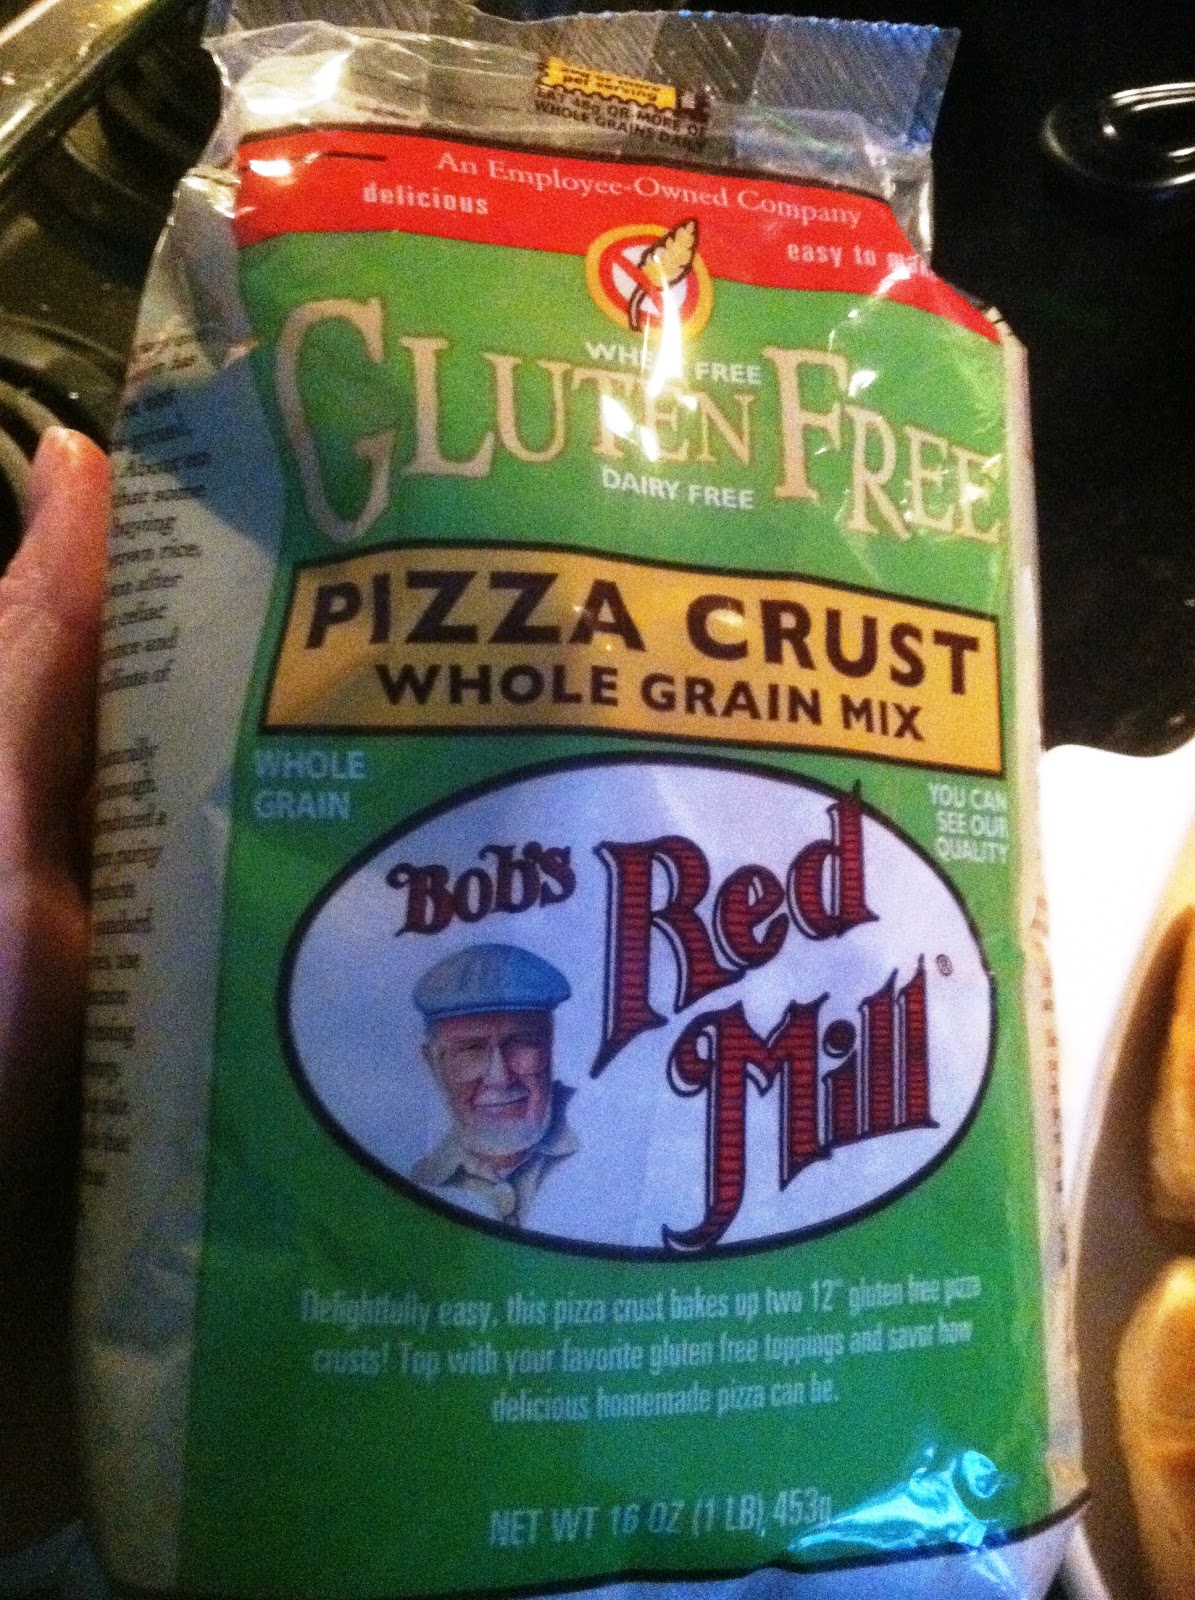
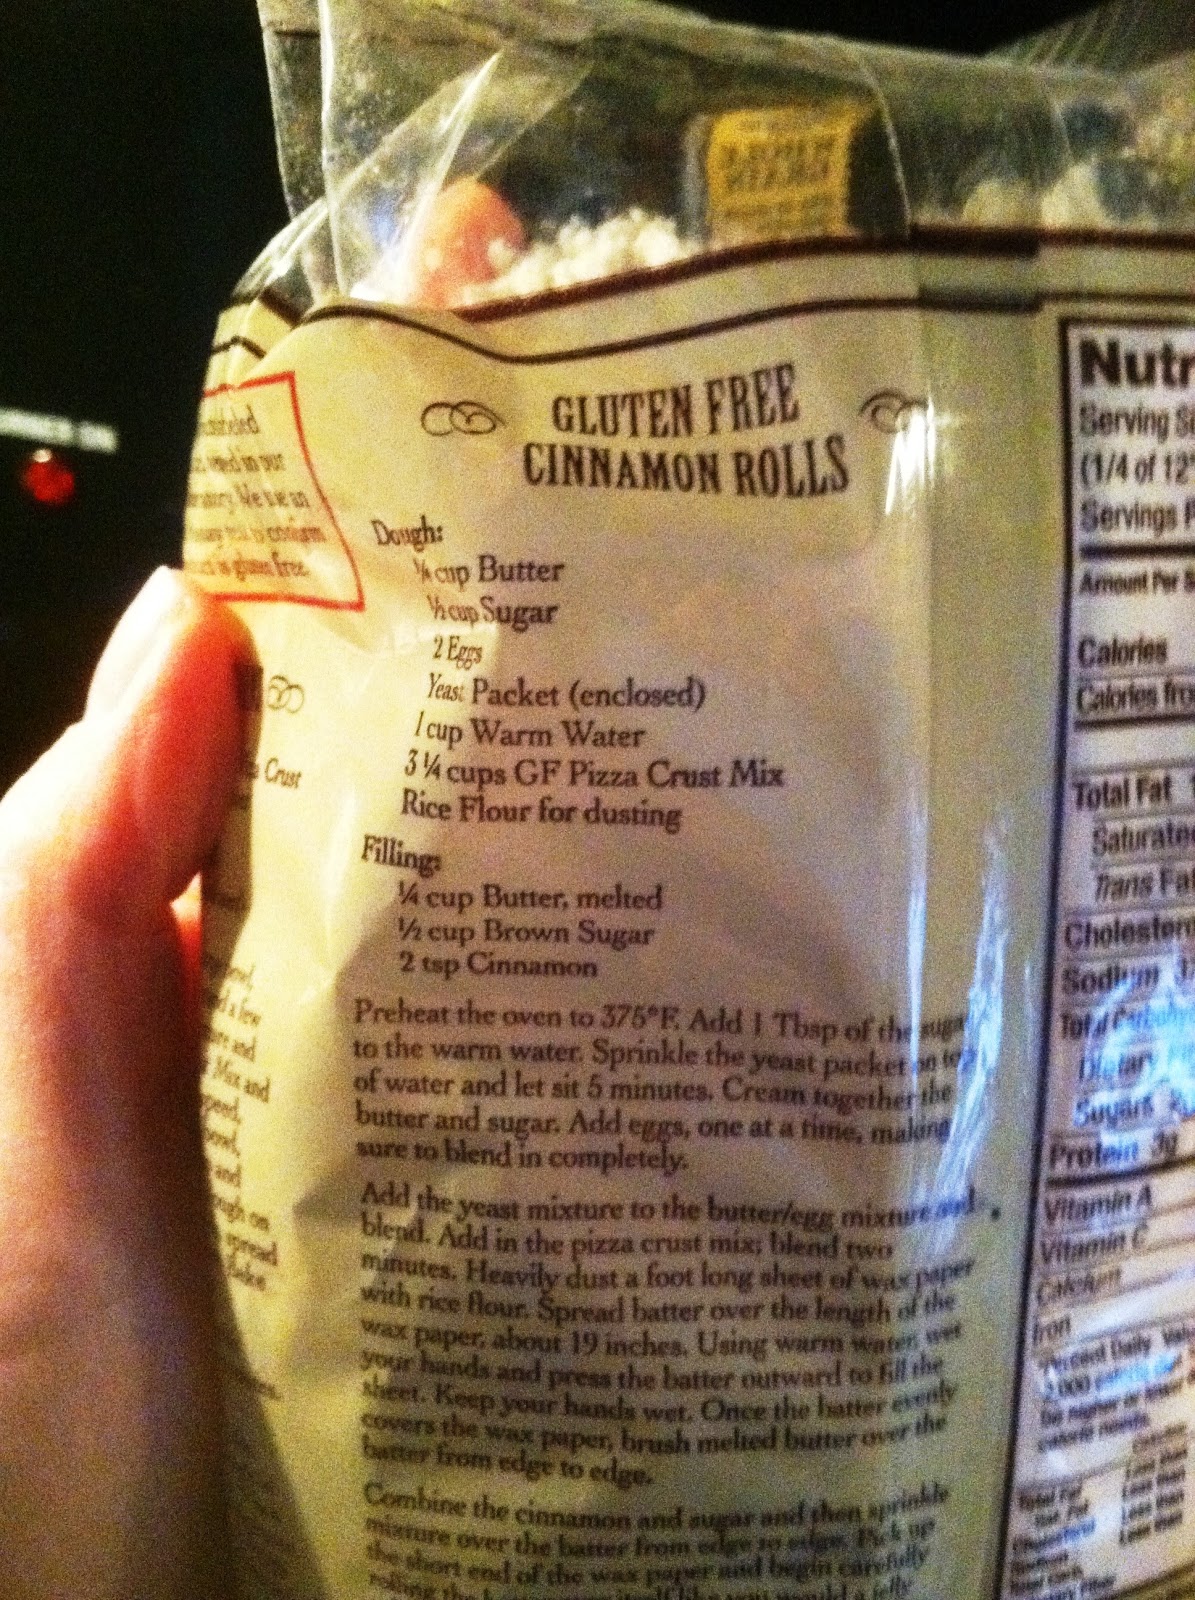
You will need a package of Bob’s Red Mill Pizza Crust Mix (or prepare your favorite GFDF dinner rolls). Prepare the rolls using the recipe on the back that says Cinnamon Rolls Recipe but omit the Filling part of the recipe. As such, here is what it looks like:

When proofing the yeast, I recommend pouring the warm water in the bowl first (water should be very warm to the touch but not hot, about 110 degreed Farenheit), then sprinkle the yeast on top. Preheat the oven as suggested, you’ll need the warmth from the oven when you set the rolls on the stovetop to rise before putting inside the oven to bake. Also, you will notice that the recipe calls for 3 1/4 cups of the mix. I measured thinking I would need additional flour from another package. Nope, the entire package fits the recipe.

During rising time, bring a small oven-safe saucepan of water to a boil. When you are ready to bake, put the pan of hot water in the oven with the rolls. The steam will help keep these moist as GF products have a tendency to come out dry.

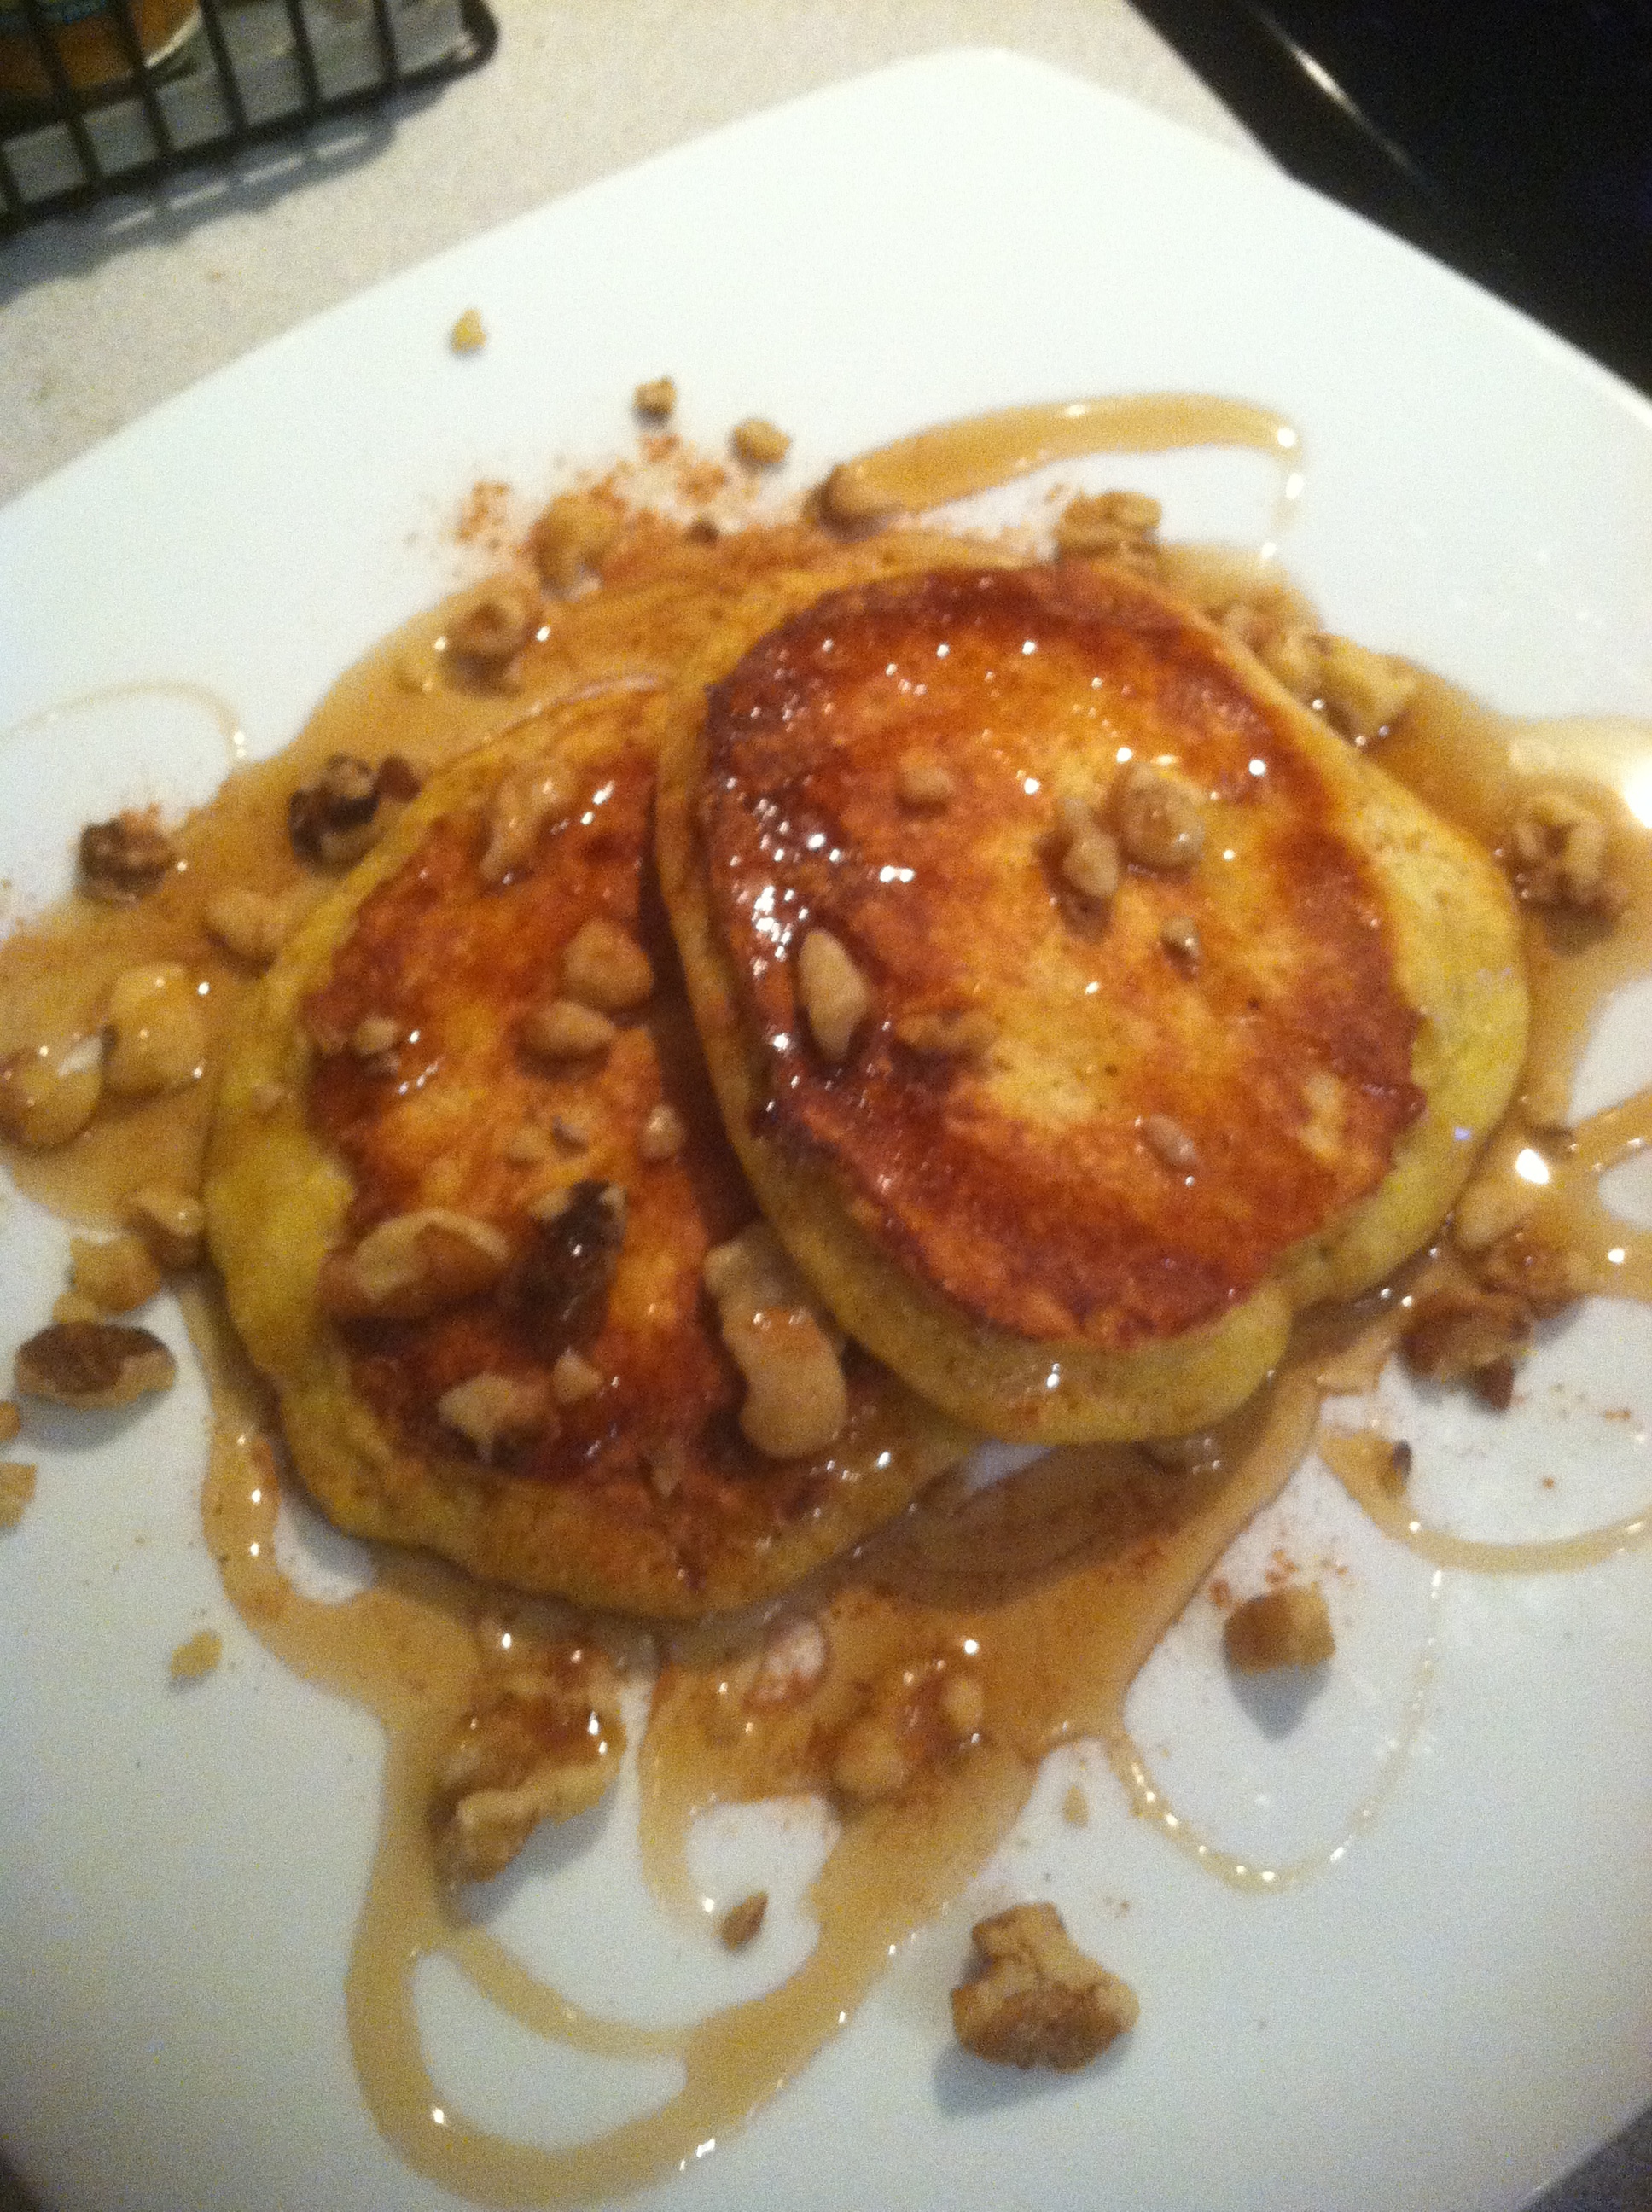
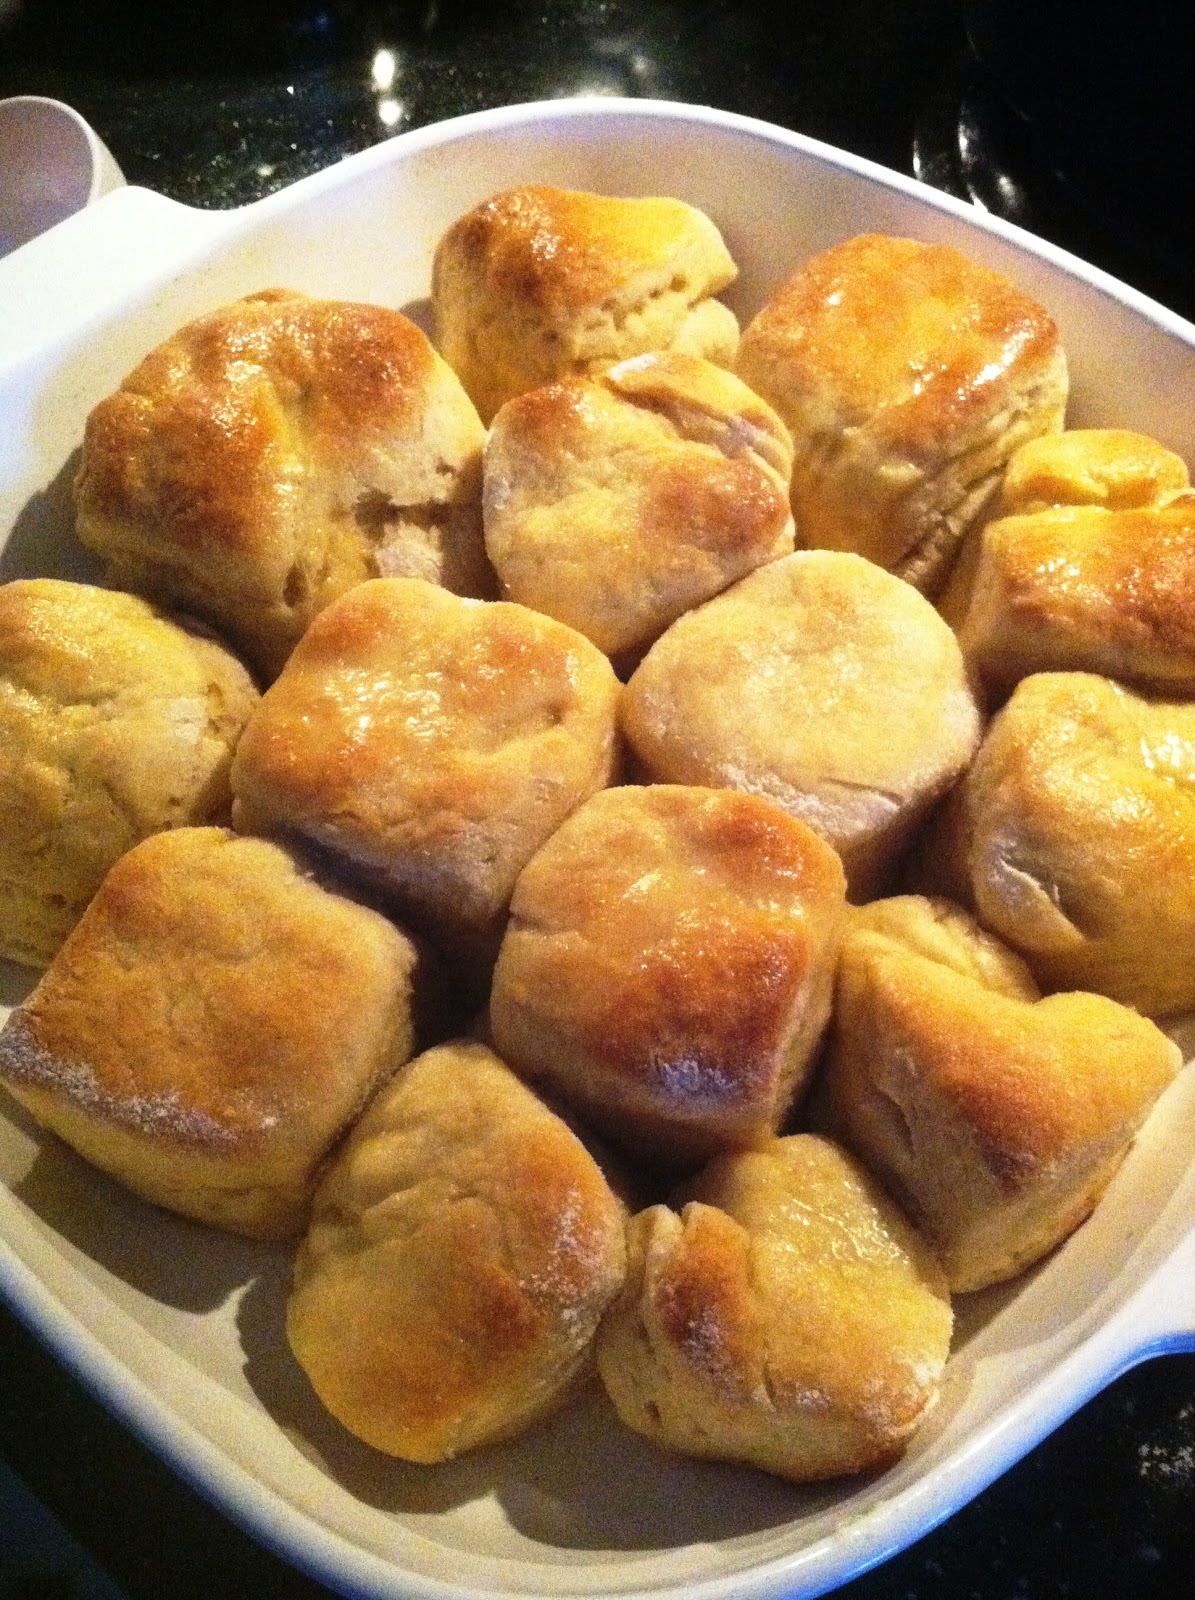
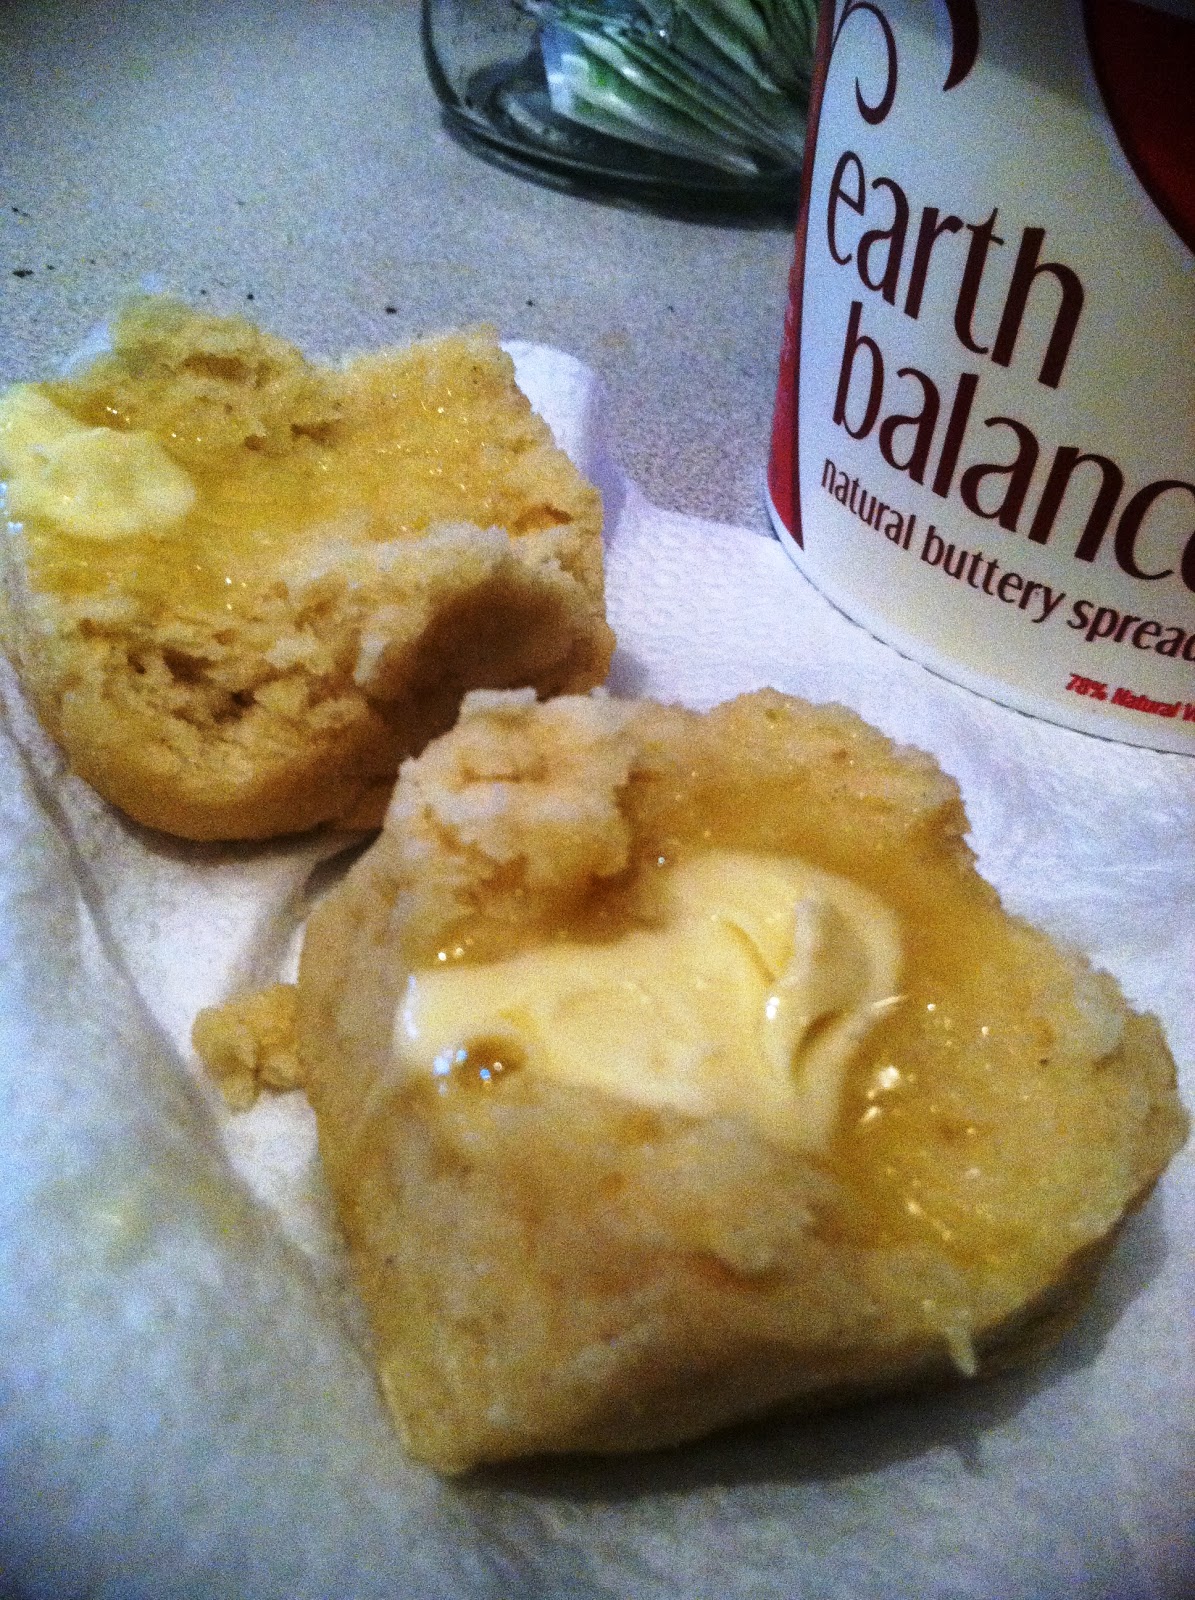
This is what the finished rolls will look like. They are soft, tender and as one who can eat bread, I seriously cannot tell the difference between these rolls and regular rolls except for a slightly more dense texture. But still, if I had not known I just baked with a GF mix, I would not have known they were GF. When you pull them out of the oven, spread a bit of earth balance buttery spread on top for the golden appearance. Because…

little boy needs a delicious roll treat! Just look at this. And I didn’t intend for the spread to melt into a heart shape but the camera captured it. What a delightful treat for a kid that walks by the bakery section of the grocery store and must ignore it. Okay… the rest of the rolls need to be broken up and spread out on a cookie tray. Depending on when you make them, you can leave them out overnight to go stale or toast them for about 10-20 minutes in a 425 degree oven.

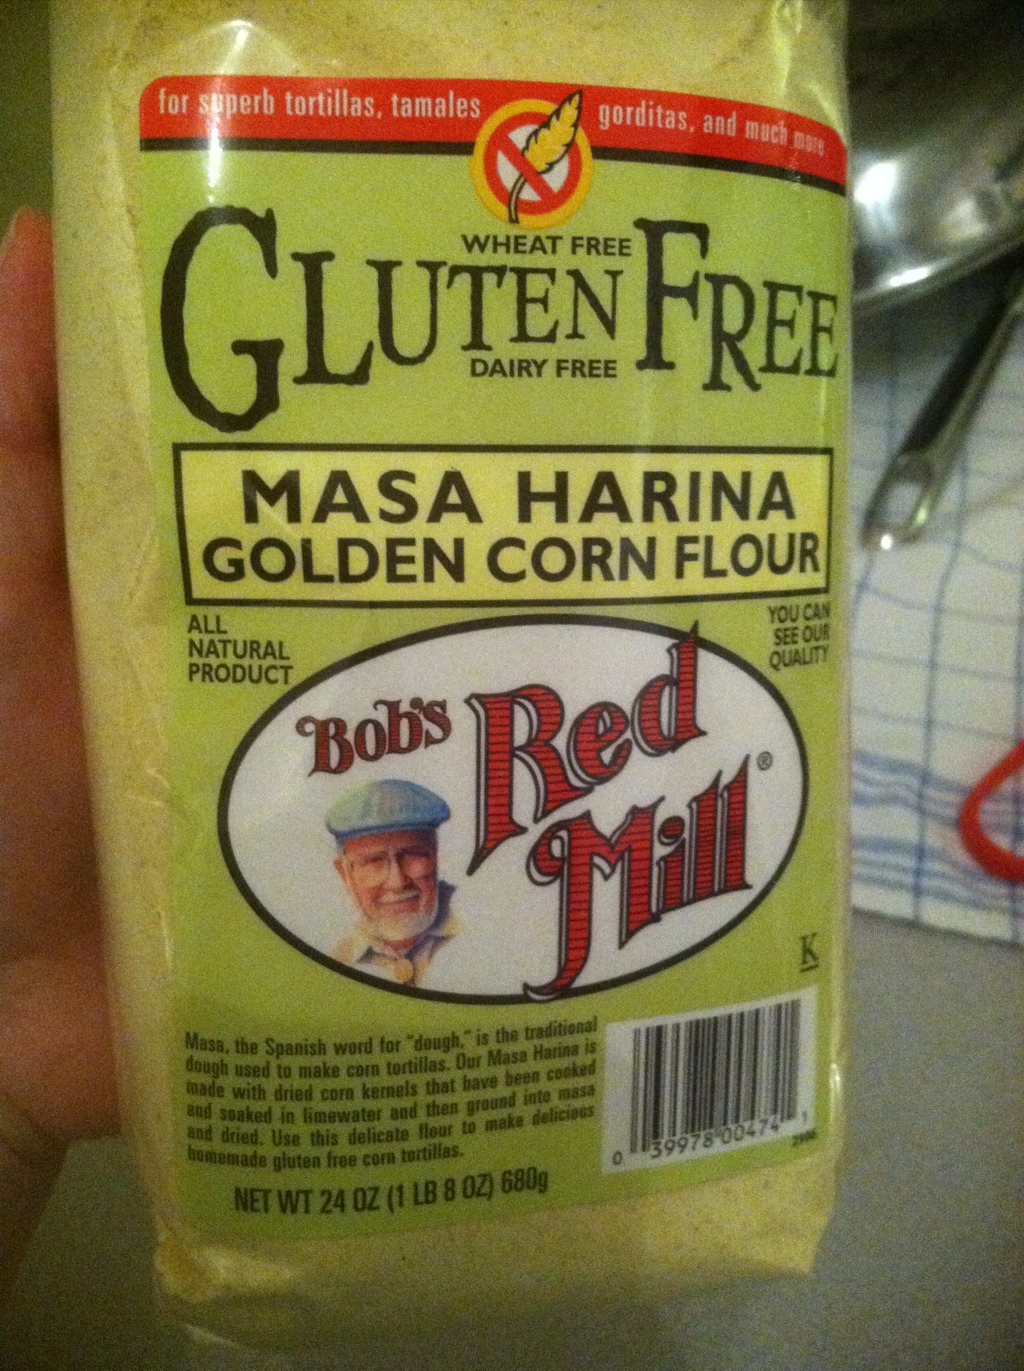
When you are finished, make the cornbread. Now, if I were consistently using Bob’s Red Mill mixes, I would probably start recommending a cornbread one here. However, I have found that the following recipe for cornbread is excellent. Sugar is the optional ingredient. For northern style sweet and softer cornbread (remember, sugar conditions some doughs), add the sugar. For southern style cornbread, omit the sugar. I have made this both with and without sugar – with success and with good reviews that one cannot tell that it is a GFDF cornbread.

CORNBREAD RECIPE

1 cup brown rice flour (superfine if you have it, if not regular brown rice flour is fine)

1/3 cup potato starch (not potato flour)

2 Tbsp + 2 tsp tapioca flour (also called tapioca starch)

1/2 tsp xanthan gum

3/4 tsp salt

1 cup yellow cornmeal (Quaker or generic brand is quite fine)

1 Tbsp double-acting baking powder

1/4 cup granulated sugar (optional)

1 eggs

1/4 cup non-hydrogenated shortening, melted

1 cup rice, almond or soy milk

Preheat the oven to 425 degrees Farenheit. Grease an 8″ cake pan with some shortening. (You can use muffin or other types of pans if you prefer).

Combine dry ingredients in a bowl until well incorporated, then add the wet ingredients. (I like to whisk the egg in a little bowl before adding it).

Bake for 20 minutes or until golden around the edges, top feels dry and a knife inserted in the middle comes out clean.

Unfortunately, I didn’t get a picture of the cornbread.

When you’ve enjoyed a slice, etc. Crumble the rest into a pan and let stale or toast.

CORNBREAD STUFFING

4 stalks celery, coarsely diced

1 med-large yellow onion, diced

32 oz chicken broth (or broth from your turkey cooking in the oven)

2 tsp ground sage

1 tsp thyme

Salt and pepper to taste

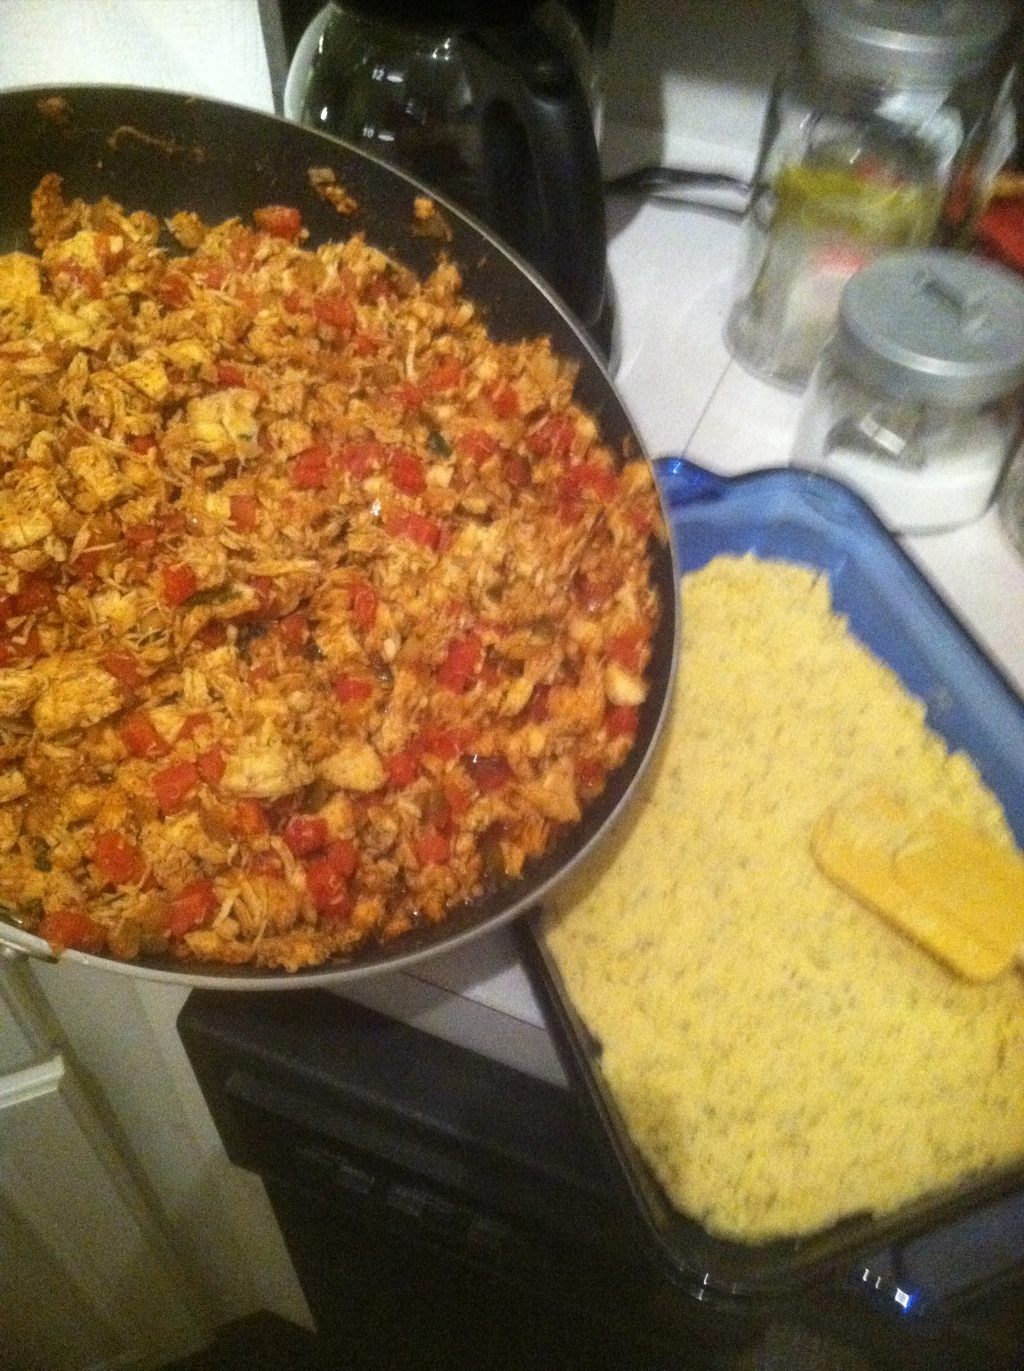
Hopefully, you are already cooking your turkey at about 375 degrees Farenheit. If not, preheat the oven. In the meantime, saute the celery in a little oil until soft. Add the onions and saute until translucent. Add seasonings. In a large bowl, add the toasted bread crumbs, cornbread crumbs, the sauteed celery/onion mixture and pour broth into it. Stir until crumbs are thoroughly moistened. (Since eggs were already used to make the cornbread and yeast bread, I do not add additional eggs. This comes out with a firm cut-able texture on its own. However, you may want to add more eggs if you prefer a more dense custard-like texture.)

Bake for about 30-45 minutes until the top is golden brown, stuffing is firm and a knife inserted in the center comes out clean.

Enjoy!