Chickpea Chocolate Chip Cookies

Chickpea Choc Chip Cookies

These cookies are totally free of peanuts, nuts, eggs, gluten, wheat, and dairy.

Why the chickpeas? I ran out of shortening and earth balance but had everything else to make chocolate chip cookies. I really wanted to experiment with an egg-free cookie recipe. But without the fat, I was a little stumped. Could I still do it? Most recipes call for so much of said fat, really, the fat only does two things: add volume and softness. I remembered seeing some posts in my Facebook feed from raw food pages about making chocolate chip cookies using chickpeas. So, I thought I’d try pureed chickpeas and canola oil to replace the fat and 1/4 cup of applesauce to replace the eggs.

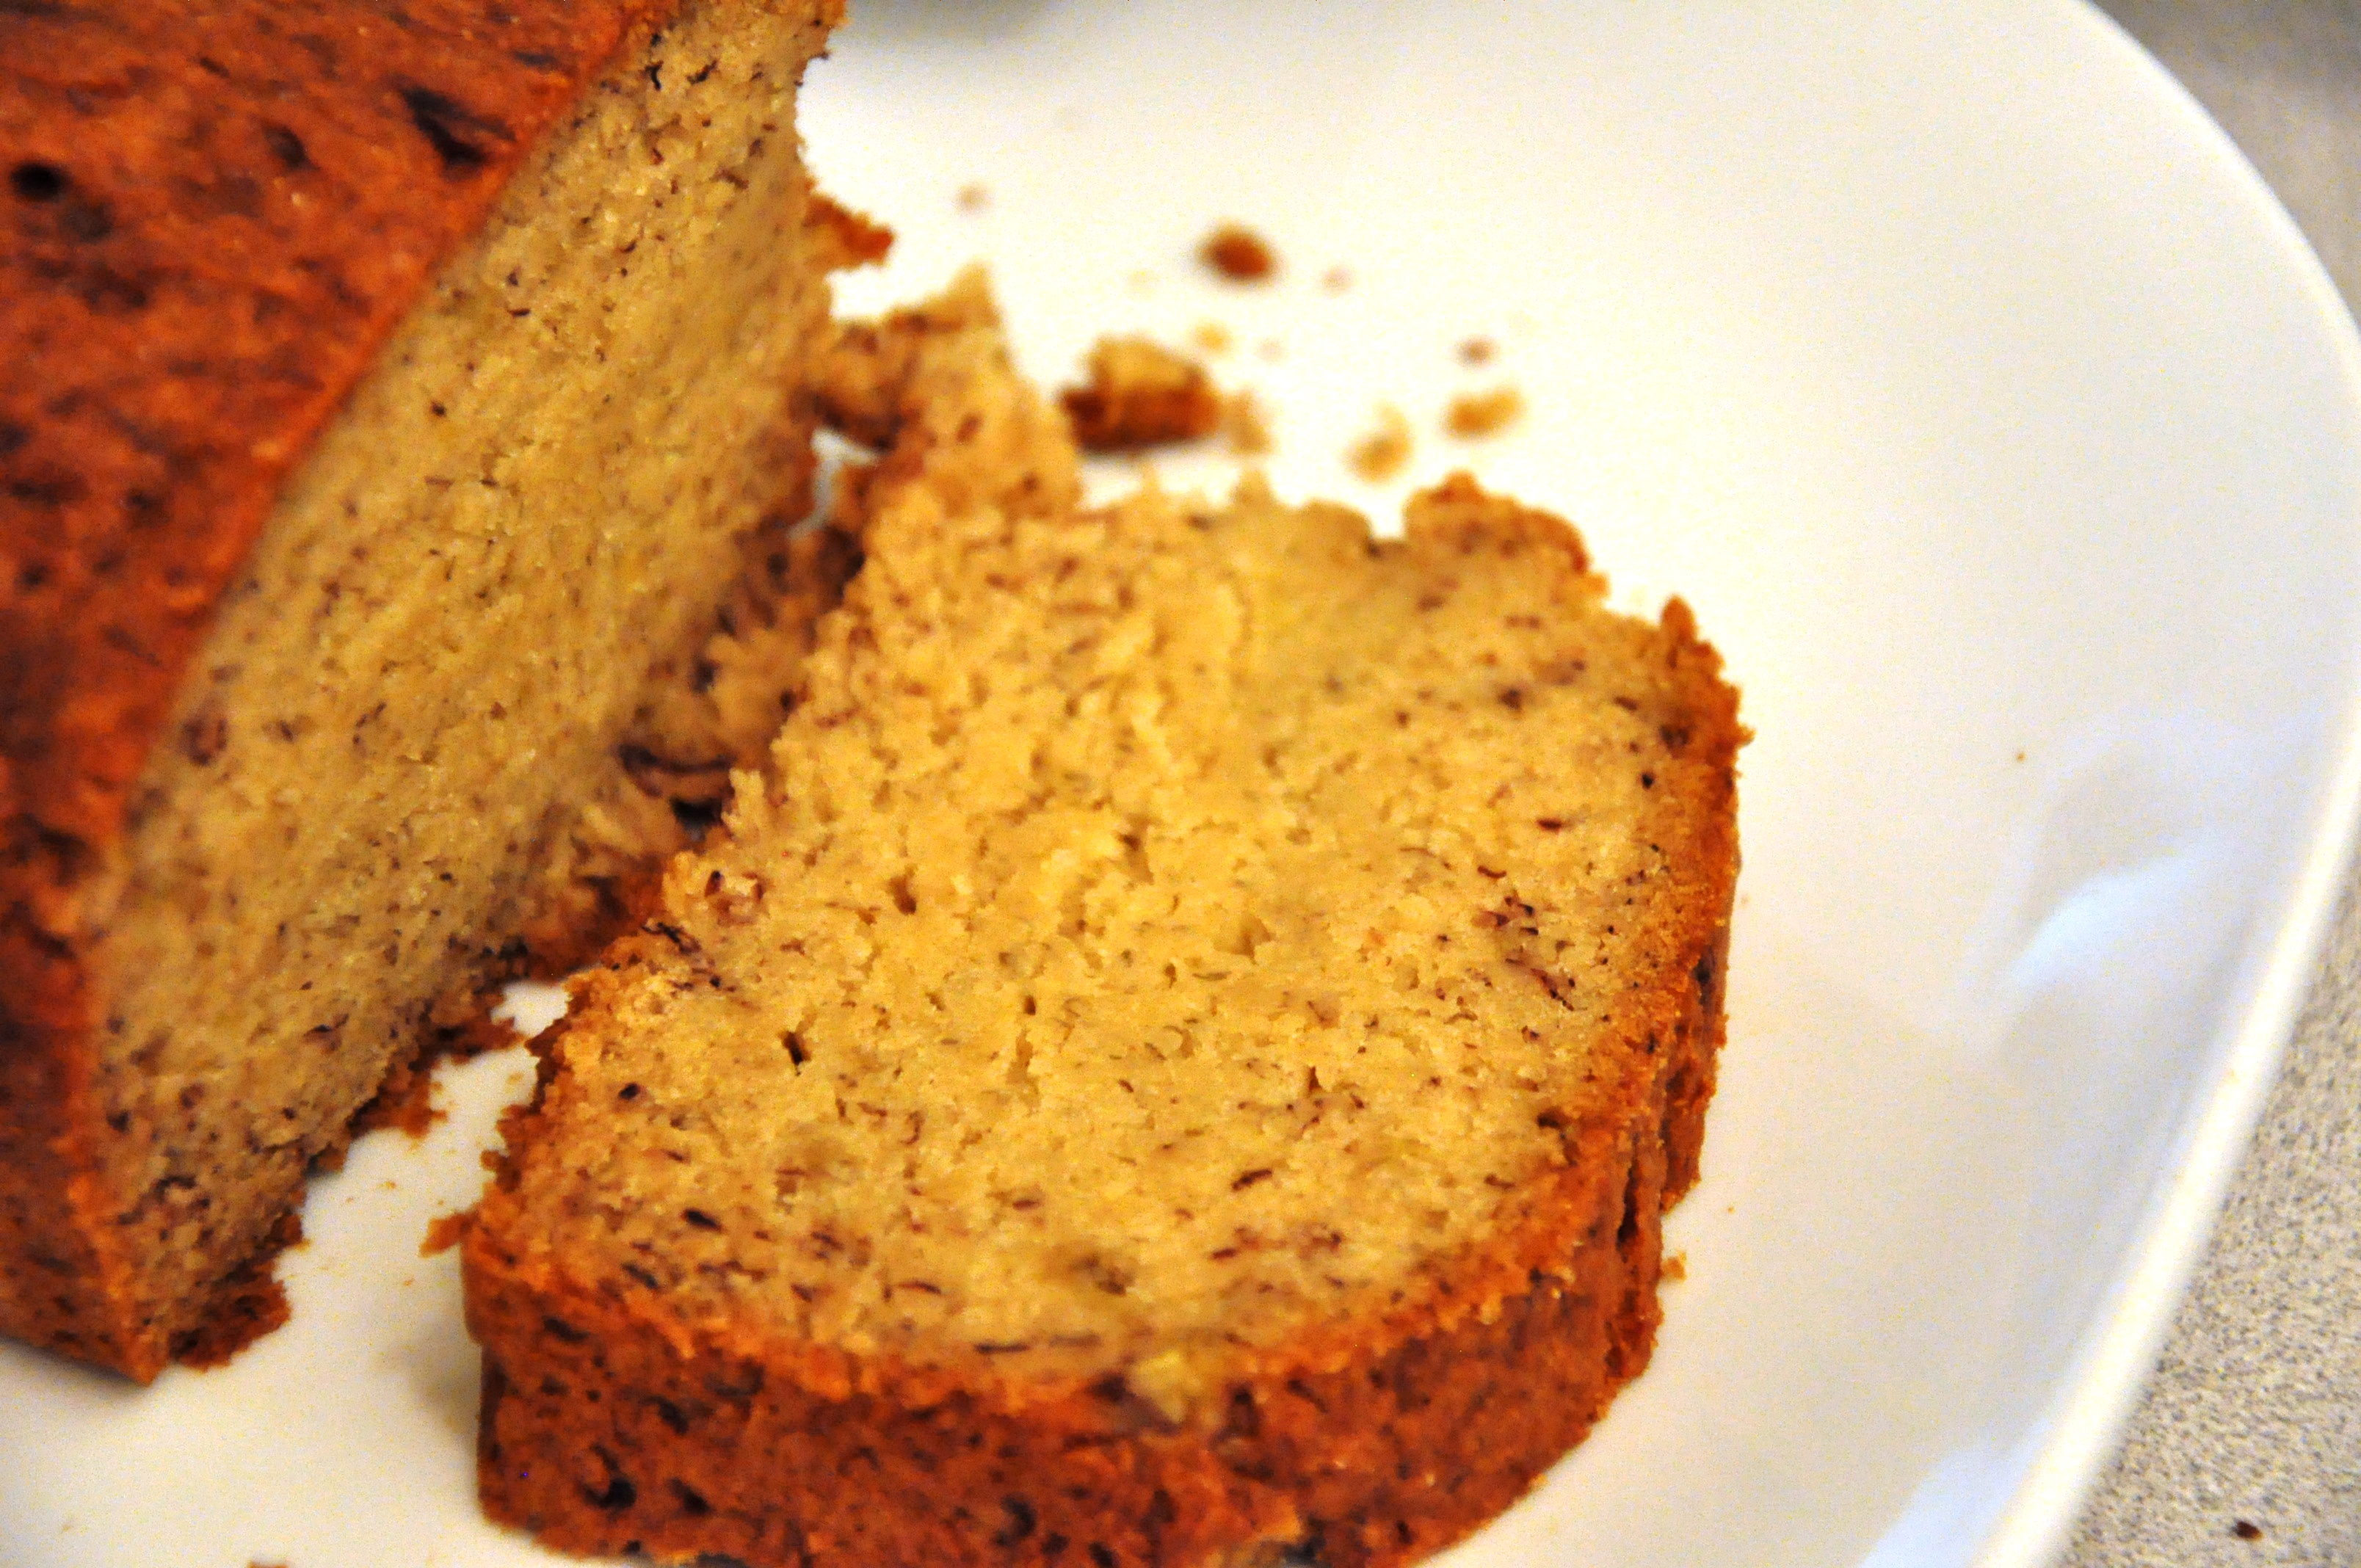
After deciding on these replacements, and consulting volume of ingredients from two cookbooks, this is what I came up with: a thick, cake-like chocolate chip cookie that, when paired with a tall glass of non-dairy milk, makes for a very comforting treat. The family raved.

I made these very large because I knew my son would get a kick out it. But you can use this recipe for any size and thickness that you want since these don’t spread out at all like the traditional wheat and butter cookie.

Ultimately, there are five really great things about this recipe: 1. They taste great, just like traditional chocolate chip cookies (my fiance did not know I used chickpeas until I told him). 2. They are totally free of the eight most common food allergens. If there is a legume allergy, use silken tofu instead of chickpeas (do not use tofu if there is a soy allergy) 3. You can eat this raw without worry of salmonella poisoning from eggs. Idea: Stir the dough into your favorite ice cream! (Oh yum) 4. You have the benefit of having total control over the size, shape and thickness of these cookies. 5. You don’t have to buy  expensive fats such as shortening, earth balance or peanut butter, and thus a bit more economical.

So, here is the recipe. Enjoy!

Chickpea Chocolate Chip Cookies

Preheat your oven to 350 degrees Fahrenheit and grease two large cookie sheets.

In a small food processor, add:

1 15-oz can of chickpeas (garbanzo beans), rinsed and drained.

1/4 cup of unsweetened applesauce

1/4 cup of canola oil

2 teaspoons of vanilla

Blend until mixture is very smooth and set aside.

In a large bowl, mix together these dry ingredients:

2 cups of your favorite gluten-free flour blend

1/2 teaspoon xanthan gum (if your flour blend does not have it)

1/2 teaspoon of salt

1 teaspoon of baking soda

1/2 cup of dark brown sugar

1/2 cup of granulated sugar

Stir together the dry ingredients and then add the chickpea puree. Stir and then you may have to use your very clean hands to squeeze and mix the dough until it all comes together.

Add 1 cup of Enjoy Life or other non-dairy chocolate chips and mix.

Shape cookies and flatten to about 1/4 inch thick. Bake on a rack that is closer to the top as these cookies brown quickly on the bottom. Bake for 11-15 minutes depending on the size and thickness of the cookie. They are done when the edges are golden brown. If you want the tops of the cookies a deeper brown color, finish them under the broiler for just one minute.

Serve warm with a tall glass of cold rice, hemp, soy or other favorite non-dairy milk.

Delicious Pancakes

Behold. These are the ones. The pancakes. The IHOP/Waffle House/Jersey Hometown Diner (or whatever happens to be your definition of) oh-my-god delicious pancakes.

So far, the pancakes I have been making have not been worth really talking about on here, except the flourless banana pancakes, which taste more like bananas foster, than anything else. And I posted them for novelty sake. Some like them, some do not. We do. But still, they are not actual flour pancakes.

So, out of some frustration with being too broke to go to the store for the Bob’s Red Mill Pancake Mix (which is what I usually use), I decided to adapt my gluten free flour mix to a recipe in my Fannie Farmer cookbook. I adapted it even further to use oil to save on the cost. And these were born.

Surprisingly spectacular.

Here’s what the wheat eater in my household had to say about them: “Wow, I cannot tell at all that these are gluten free. And they have that nice eggy, fluffy, tender texture, like the pancakes you would get at a really good diner.”

WIN!

So, here they are

Make this GF Flour Mix: 6 cups brown rice flour, 2 and 2/3 cup potato starch, 2/3 cup tapioca flour, 2/3 cup sweet rice flour.  Mix all together and put in a large ziplock bag. (If you can’t find sweet rice flour, you can substitute it with more tapioca starch. If you do that, I cannot guarantee this recipe).

For the Pancakes:

Use 2 cups of the GF Flour Mix for this recipe and store the rest for other baking recipes.

1 and 1/2 teaspoons of xanthan gum

4 teaspoons of baking powder

4 Tablespoons of sugar

1 teaspoon of salt

Mix the dry ingredients well with a whisk.

In another bowl add:

2 eggs

4 Tablespoons of Canola or Vegetable Oil

2 cups of unsweetened almond or unsweetened hemp milk (Note: these milks have a creamier texture and are great for baking. I’m not sure how rice milk would come out. In my opinion, rice milk is so watery that there is no difference in baking with rice milk vs. water. So, I just use water instead of wasting my rice milk if all that I have on hand is rice milk. My recipes have come out fine that way).

Whisk the wet ingredients together. Then mix the wet and dry ingredients together with a wooden spoon. Add more almond or hemp milk (or water) if the mixture is too dense. It should be very pour able, like cake batter.

Then, make the pancakes how you would normally make them. If you are just learning how to make pancakes, see instructions below. Serve with a pat of Earth Balance spread and your favorite maple syrup (make sure it is free of caramel color. Caramel color in pancake syrup doesn’t seem to bother my son. But if it bothers you, use a mixture of light corn syrup and molasses to make an inexpensive syrup).

How to Make Pancakes:

Set your oven to 250 degrees Fahrenheit. (For keeping cooked pancakes warm).

Heat a large non-skillet skillet over medium high heat and, depending on the size pancakes you like, scoop 1/4 or 1/2 cup fulls of batter into the pan. Cook about 5-7 minutes or until dry looking around edges and you see bubbles throughout the pancakes and then flip over. Cook another 5-7 minutes, or until golden brown and cooked through.

Transfer pancakes to a plate in the the warm oven while you are making the 2nd and 3rd batch.

For the pancakes you have not eaten, put them in a large zip lock bag and put them in your freezer for up to 3 months.

Reheat 1-2 pancakes as you need them.

Reheating instructions for microwaves:

Put 2 pancakes on an oven safe plate and cover with an almost sopping wet paper towel (this steams the pancakes and keeps them from drying out). Cook on high for 1-2 minutes until heated through.

Reheating instructions for people like me, who have broken microwaves and can’t afford another one:

Set your oven to 350 degrees Farenheit. Put your desired number of pancakes on a cookie sheet. Cover with about 2-3 sopping wet paper towels to keep them from drying out. Heat for about 5 minutes or until heated through.

Totally Allergen-Free Banana Bread

Banana BreadThis tastes sooooo good. And I’m so excited about this accomplishment because I’ve been working on this for almost a week. This has zero allergenic foods, meaning it is gluten free, diary-free, egg-free, soy-free, corn-free, peanut-free and nut-free. No coconut, either. I promise you that I test my recipes before I post and the picture of this bread was just taken after we devoured a couple of pieces. My son’s friends are over and they begged for another. I will have to guard the rest for sweetheart since he’s been wanting me to make another banana bread for him and I need him to taste this. I think it actually came out better than the egg version I made last weekend. So far, the biggest challenge has been baking things without eggs. A friend suggested applesauce and upon reading more about it, the pectin in the applesauce helps act as a binding agent the way eggs do. Flaxseed meal mixed with water is suggested in some recipes as an egg replacer but if you are trying to avoid treenuts or soy, you may have to be extra careful with flaxseed meal. I have also used Ener-G egg replacer but that is just one more expensive special product to buy, and as you can relate, it is expensive enough to buy different kinds of flours. So, if I can use oil and applesauce instead of Earth Balance and Ener-G egg replacer, all the better.

Enough chat. Here is the  the recipe:

Preheat oven to 350 degrees Fahrenheit. Coat an 8 inch loaf pan with a little bit of canola or safflower oil (do not use the spray if you are avoiding soy because most oil sprays use soy lecithin). If your applesauce is cold, warm the 1/2 cup of applesauce in a saucepan on low heat while you prepare the ingredients. (Warm ingredients help fats coat the flour and improve performance of leavening ingredients).

In a large bowl, mix together the following:

  • 2 cups of gluten free flour mix (either use your favorite one for quick breads or you can use mine as follows: 6 cups superfine brown rice flour + 2 2/3 cup potato starch + 2/3 cup tapioca flour or starch + 2/3 cup sweet rice flour OR an addition of 2/3 cup tapioca starch if you do not have sweet rice flour).
  • 11/2 teaspoons of baking soda
  • 3/4 cup of sugar
  • 1/4 tsp salt
  • 2 tsp xanthan gum

In the saucepan of warm applesauce, mix the following wet ingredients together:

  • 1/2 cup applesauce (warmed up if cold)
  • 1 cup of mashed bananas (about two very large ripe bananas or 3 small ones)
  • 1/3 cup of oil

Bake at 350 degrees Fahrenheit in the center of the oven for 45 minutes or until a knife inserted in the center comes out clean.

Enjoy warm with some soy free Earth Balance or cooled down – however you like, right?