Lemon Pound Cake

lemon pound cake

This is a treat that many with food allergies don’t get to enjoy very often. It is commonly offered in American coffee shops and bakeries; and often appears in the office break room after a kind soul has generously brought some in to share.  What’s not to love about slice of a filling but tender lemon cake? It’s so wonderful with tea or coffee.

Pound cake is the name of the original recipe (said to have originated in Northern Europe in the early 1700s) that calls for a pound each of flour, eggs, butter and sugar. As with any traditional recipe, variations have been made over time and the word “pound” in the name has come to more aptly define the expected taste and texture of the cake more so than the use of ingredients.

This recipe utilizes mayonnaise to replace the fats from dairy sources such as butter, cream cheese and sour cream, which are often called for in pound cake recipes. This recipe is gluten-free, dairy-free, soy-free, peanut-free and tree-nut free. It does have eggs. If you replace the eggs, add an additional measure of baking powder and a slight increase in mayonnaise to support the structure and rise of the cake (measurements given below).

Note: We make general recommendations for avoiding the top 8 food allergens, however, please be careful to check the ingredients lists of all products you are using to ensure you are avoiding your allergens. Note that the mayonnaise or Vegenaise has not been evaluated by Safe Eats to be corn-free or free of pea-protein (pea and legume protein is a known cross reactive allergen to those who suffer from peanut allergies). So, please double-check.

In the meantime, enjoy this gorgeous lemon cake as you celebrate the arrival of Spring!
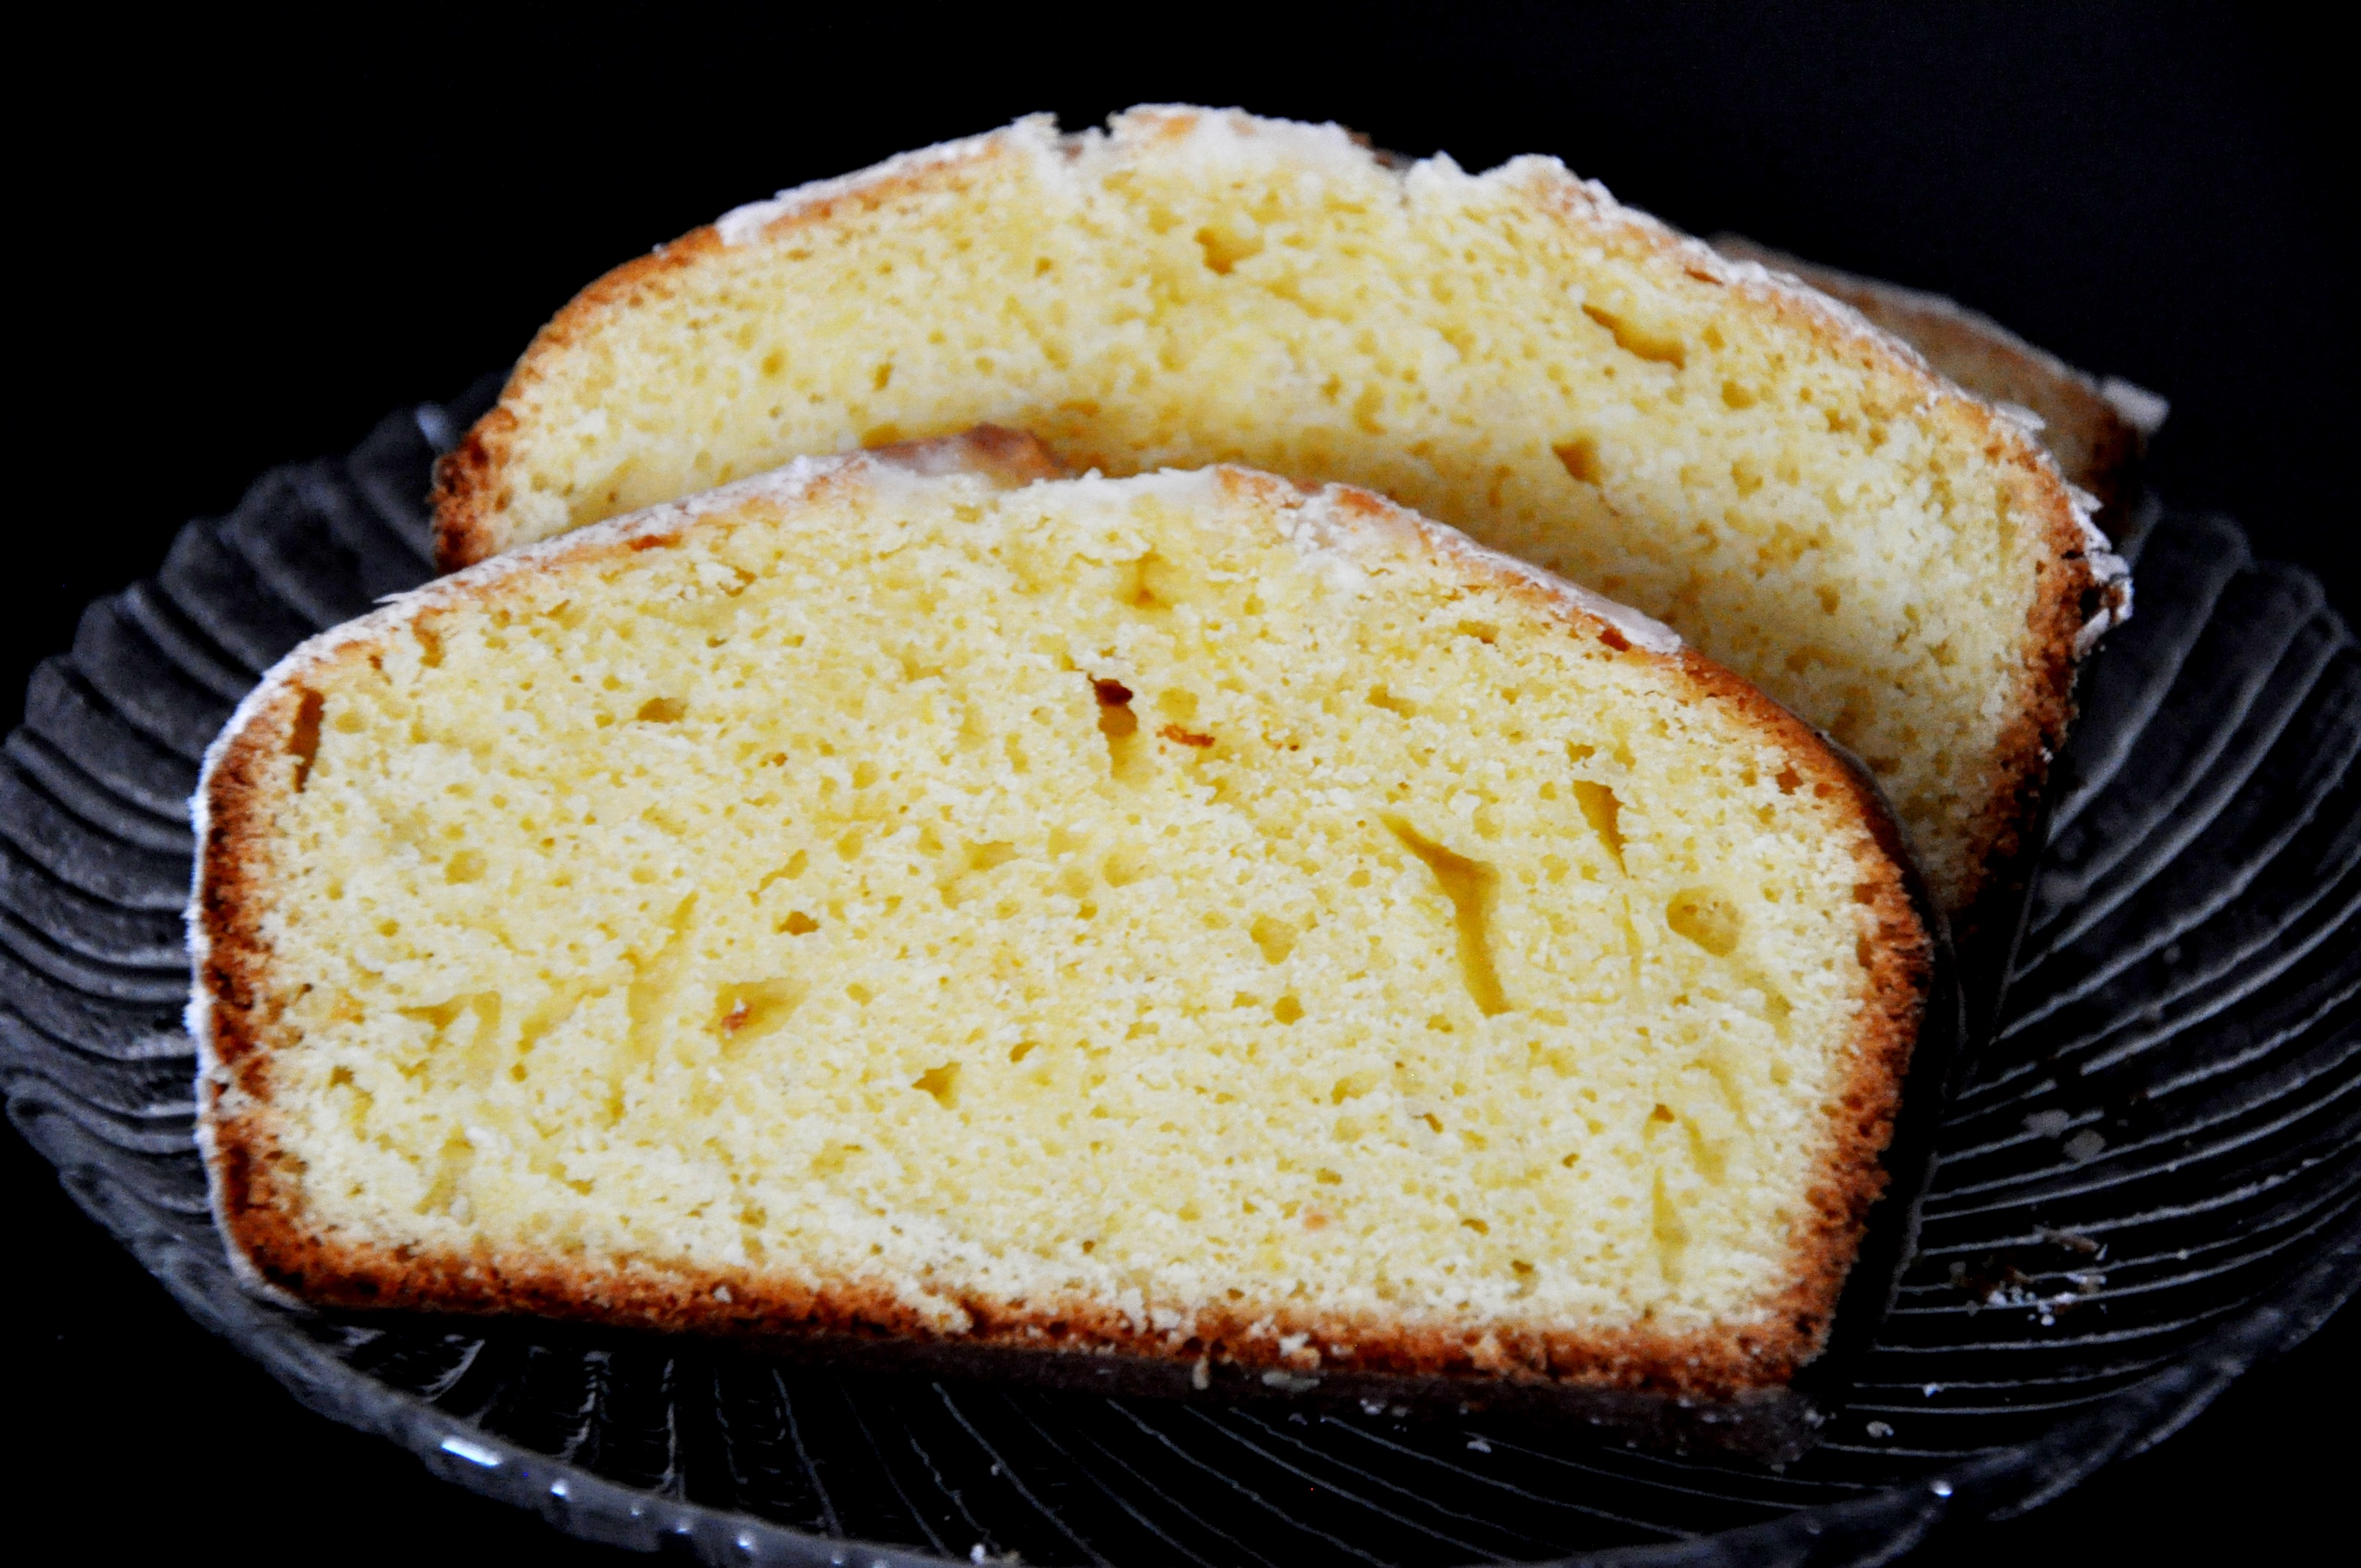
Lemon Pound Cake

1 and 1/3 cup (7 oz. or 198 grams) Basic Gluten-free Flour Mix

1 teaspoon of baking powder (add another  teaspoon of baking powder if omitting eggs)

1/2 teaspoon of salt

1/4 teaspoon of xanthan gum

1 and 1/3 cup (7 oz. or 198 grams) of granulated sugar

The zest of two lemons (approximately 1.5 Tablespoons)

The juice of one lemon for the batter (approximately 3 Tablespoons)

Set aside the juice of the second lemon for the glaze (approximately 3 Tablespoons)

4 large eggs (omit if egg allergies)

1/2 cup (4 oz. or 118 ml) mayonnaise (if omitting eggs, use 3/4 cup [or 6oz or 177 ml] of mayonnaise substitute such as soy-free Vegenaise)

1.5 teaspoons of vanilla extract

1/2 cup (4 oz. or 110 grams) of non-hydrogenated palm oil shortening such as Spectrum

For the Glaze:

The juice of one lemon

1 cup (8 oz. or 22 grams) of fresh confectioner’s sugar (look for one made with tapioca starch if you have a corn allergy)

*Note that confectioner’s sugar, particularly if it is made with cornstarch will go stale very quickly after it is opened. I recommend that you taste the sugar before using it or pick up a fresh small pkg of it and store the remaining in the freezer and use within two weeks.

Directions:

Adjust oven rack to middle position and preheat oven to 325 degrees Fahrenheit (162 degrees Celsius).

In a medium bowl, mix together the dry ingredients.

Using a handheld electric mixer or electric stand mixer with the paddle attachment, beat together the shortening, eggs (if using), and mayonnaise. Add the lemon zest, the juice of one lemon, and the vanilla extract. Once blended, mix the dry ingredients into the wet ingredients on low speed for 5 minutes.

Let the mixture rest in the bowl for another 5-10 minutes. While the batter is resting (rice flours need extra time to absorb moisture than wheat flour requires), coat the inside of a loaf or cake pan with a little bit of palm oil shortening and dust with a little bit of gluten-free flour.

Pour batter into prepared pan and bake for approximately 50-60 minutes, or until wooden skewer or toothpick inserted into the center comes out clean.

Turn cake onto wire rack to cool for at least 30 minutes.

Prepare the glaze by pouring the lemon juice into a bowl and slowly adding the confectioner’s sugar to get a very thick consistency. Slowly pour 1/2 of the glaze onto the cake. Let drip and wait approximately 2-3 minutes to set. Slowly pour remaining glaze onto cake.

After serving, store leftover cake in refrigerator.

Bring leftover cake to room temperature for 30 minutes to an hour before serving, or warm in the oven at 200 degrees F (93 degrees C) for 7-10 minutes just before serving.

Cake is best eaten within 3-5 days of baking.

Fried Chicken Tenders – Garbanzo Bean Flour Crust

Fried Chicken Tenders


I made these a couple of weeks ago before we determined that there was a new bean sensitivity. However, these were delicious and a highly recommended alternative to wheat flour to achieve a yummy fried chicken tender. These were fun to dip into the mashed potatoes with a thick white gravy made from 2 cups rice milk heated in a small saucepan, with 3 Tbsp of tapioca flour (mixed with a little water to remove lumps) added to the milk, cooked until thick with salt/pepper to taste.

Stay tuned for a bean-flour free version. In the meantime, for those of you who can tolerate beans, I think you’ll really love these.

Fried Chicken Tenders

1 lb. package of chicken tenders (about 6 – 8 tenders)

Vegetable oil

1 cup Garbanzo Bean flour, such as Bob’s Red Mill

1 teaspoon each of garlic powder, onion powder, chili powder, salt and pepper

Approximately 1/2 -3/4 cup of water (enough to get a thick “pancake batter” consistency)

Directions:

In a small baking dish, combine the Garbanzo Bean flour, seasonings and enough water to achieve a thick “pancake batter” consistency.

In a large skillet, heat about 1 inch of vegetable oil over medium low to medium heat. When a drop of water immediately sizzles, the oil is ready. If a drop of water pops out, the oil is too hot.

When oil is ready, dip the chicken tenders into the batter and drop into the oil.

Cook for about 10-15 minutes on each side until golden brown and chicken reaches a temperature of 160 degrees Fahrenheit.

Keep warm in an oven set to 170 degrees Fahrenheit while you finish dinner.

Serve with your favorite sides or condiments.


Tender and Delicious Waffles (Gluten-free, Dairy-free, and Bean/Soy-free)

Waffles 2

Homemade waffles, with a delicate texture and enticing aroma and flavor, make such a beautiful weekend breakfast. And these waffles contain very few additives that can detract from the flavor and texture. Most store bought gluten-free frozen waffles, especially, tend to contain soy lecithin and a legume-based flour. For those who suffer from soy, peanut or legume allergies, the store-bought gluten-free waffles are not an option.

Homemade waffles are surprisingly easy and budget-friendly. With a $10 dollar Rival waffle iron, we used a standard gluten-free flour mix and adapted a classic wheat recipe to omit several food allergens while retaining all the texture and flavor of a waffle that we agreed is superior to the frozen waffles.  This recipe is gluten-free, soy-free, peanut-free, treenut-free and dairy-free.

An egg-free version is still in testing. We attempted to make an egg-free version using applesauce as a replacement but applesauce is not recommended as causes the outer layer to caramelize and stick to the waffle iron (even with extra oiling). This article will be updated when a successful egg-free version is achieved.

These waffles are slightly sweet and perfect with our favorite Log Cabin All Natural syrup – made without caramel color or high fructose corn syrup. If you plan on adding a lot of sweet toppings, omit the sugar in this waffle recipe.

Note: Please be sure to double-check all of your ingredients to ensure you avoid your particular food allergens.

Tender Waffles (Gluten-free, Dairy-free, and Bean/Soy-free) 

Makes approximately 8-10 waffles

In a medium sized mixing bowl, combine:

1.5 cups (12 oz or 150 grams) Basic Gluten-free Flour Mix

2 teaspoons baking powder

2 teaspoons sugar (optional)

1/2 teaspoon salt

Then add:

3 Tablespoons of canola or grapeseed oil

2 eggs

1 cup (8 oz.) water

Following the instructions of your waffle iron manual, heat and prep the surface of your waffle iron. TO AVOID SOY, do not use a spray cooking oil. Instead, use a brush to apply a light coating of canola or grapeseed oil to the iron.

Mix together the ingredients above with a fork until ingredients are well-combined and lumps are removed. You will notice that the mixture will bubble a little and take on a frothy texture. This is good and exactly what you want to make a tender light waffle.

Using a 1/3 measuring cup, ladle waffle mixture onto each waffle section of the iron. You do not have to fill every square entirely or else the mixture will spread and overflow during the baking time.

When your waffle iron light indicates that the cycle of baking is complete, lift the lid and use a fork to pull up a corner. The waffle should then come up very easily.

And just one more picture to show the tender deliciousness. Enjoy!

Waffles