Quick BBQ-Style Beans

Baked Beans

Beans support red blood cell function, support skin cell production, and support nerve function. Beans also contribute to preventing symptoms of osteoporosis, dementia, mental fogginess, irritability, depression and anemia. How do beans do this? With their awesomely high content of folate, containing around 180 micrograms of folate per serving. So, don’t knock beans. They are extremely good for you! They also happen to be very economical, while being an excellent allergen-friendly food (see peanut allergy comments below*).

(*Please keep in mind, however, that some with peanut allergies may react to beans. If you suffer from peanut allergies, speak with your doctor about whether or not you will react to other legumes. If you are cooking for someone with a peanut allergy, consider another dish and forgo making beans.)

That said, beans are pretty easy to work with. And though many are concerned about gas issues, work with dried beans as there seems to be less of an issue with dried beans vs. store bought canned beans. Every now and then, I make a large batch of pinto beans from scratch. I store them and use them over the next few meals with various seasoning combinations. Dinners vary from chili beans for tacos, italian pasta fagioli soup, three bean salad or a quick version of the traditional baked beans.

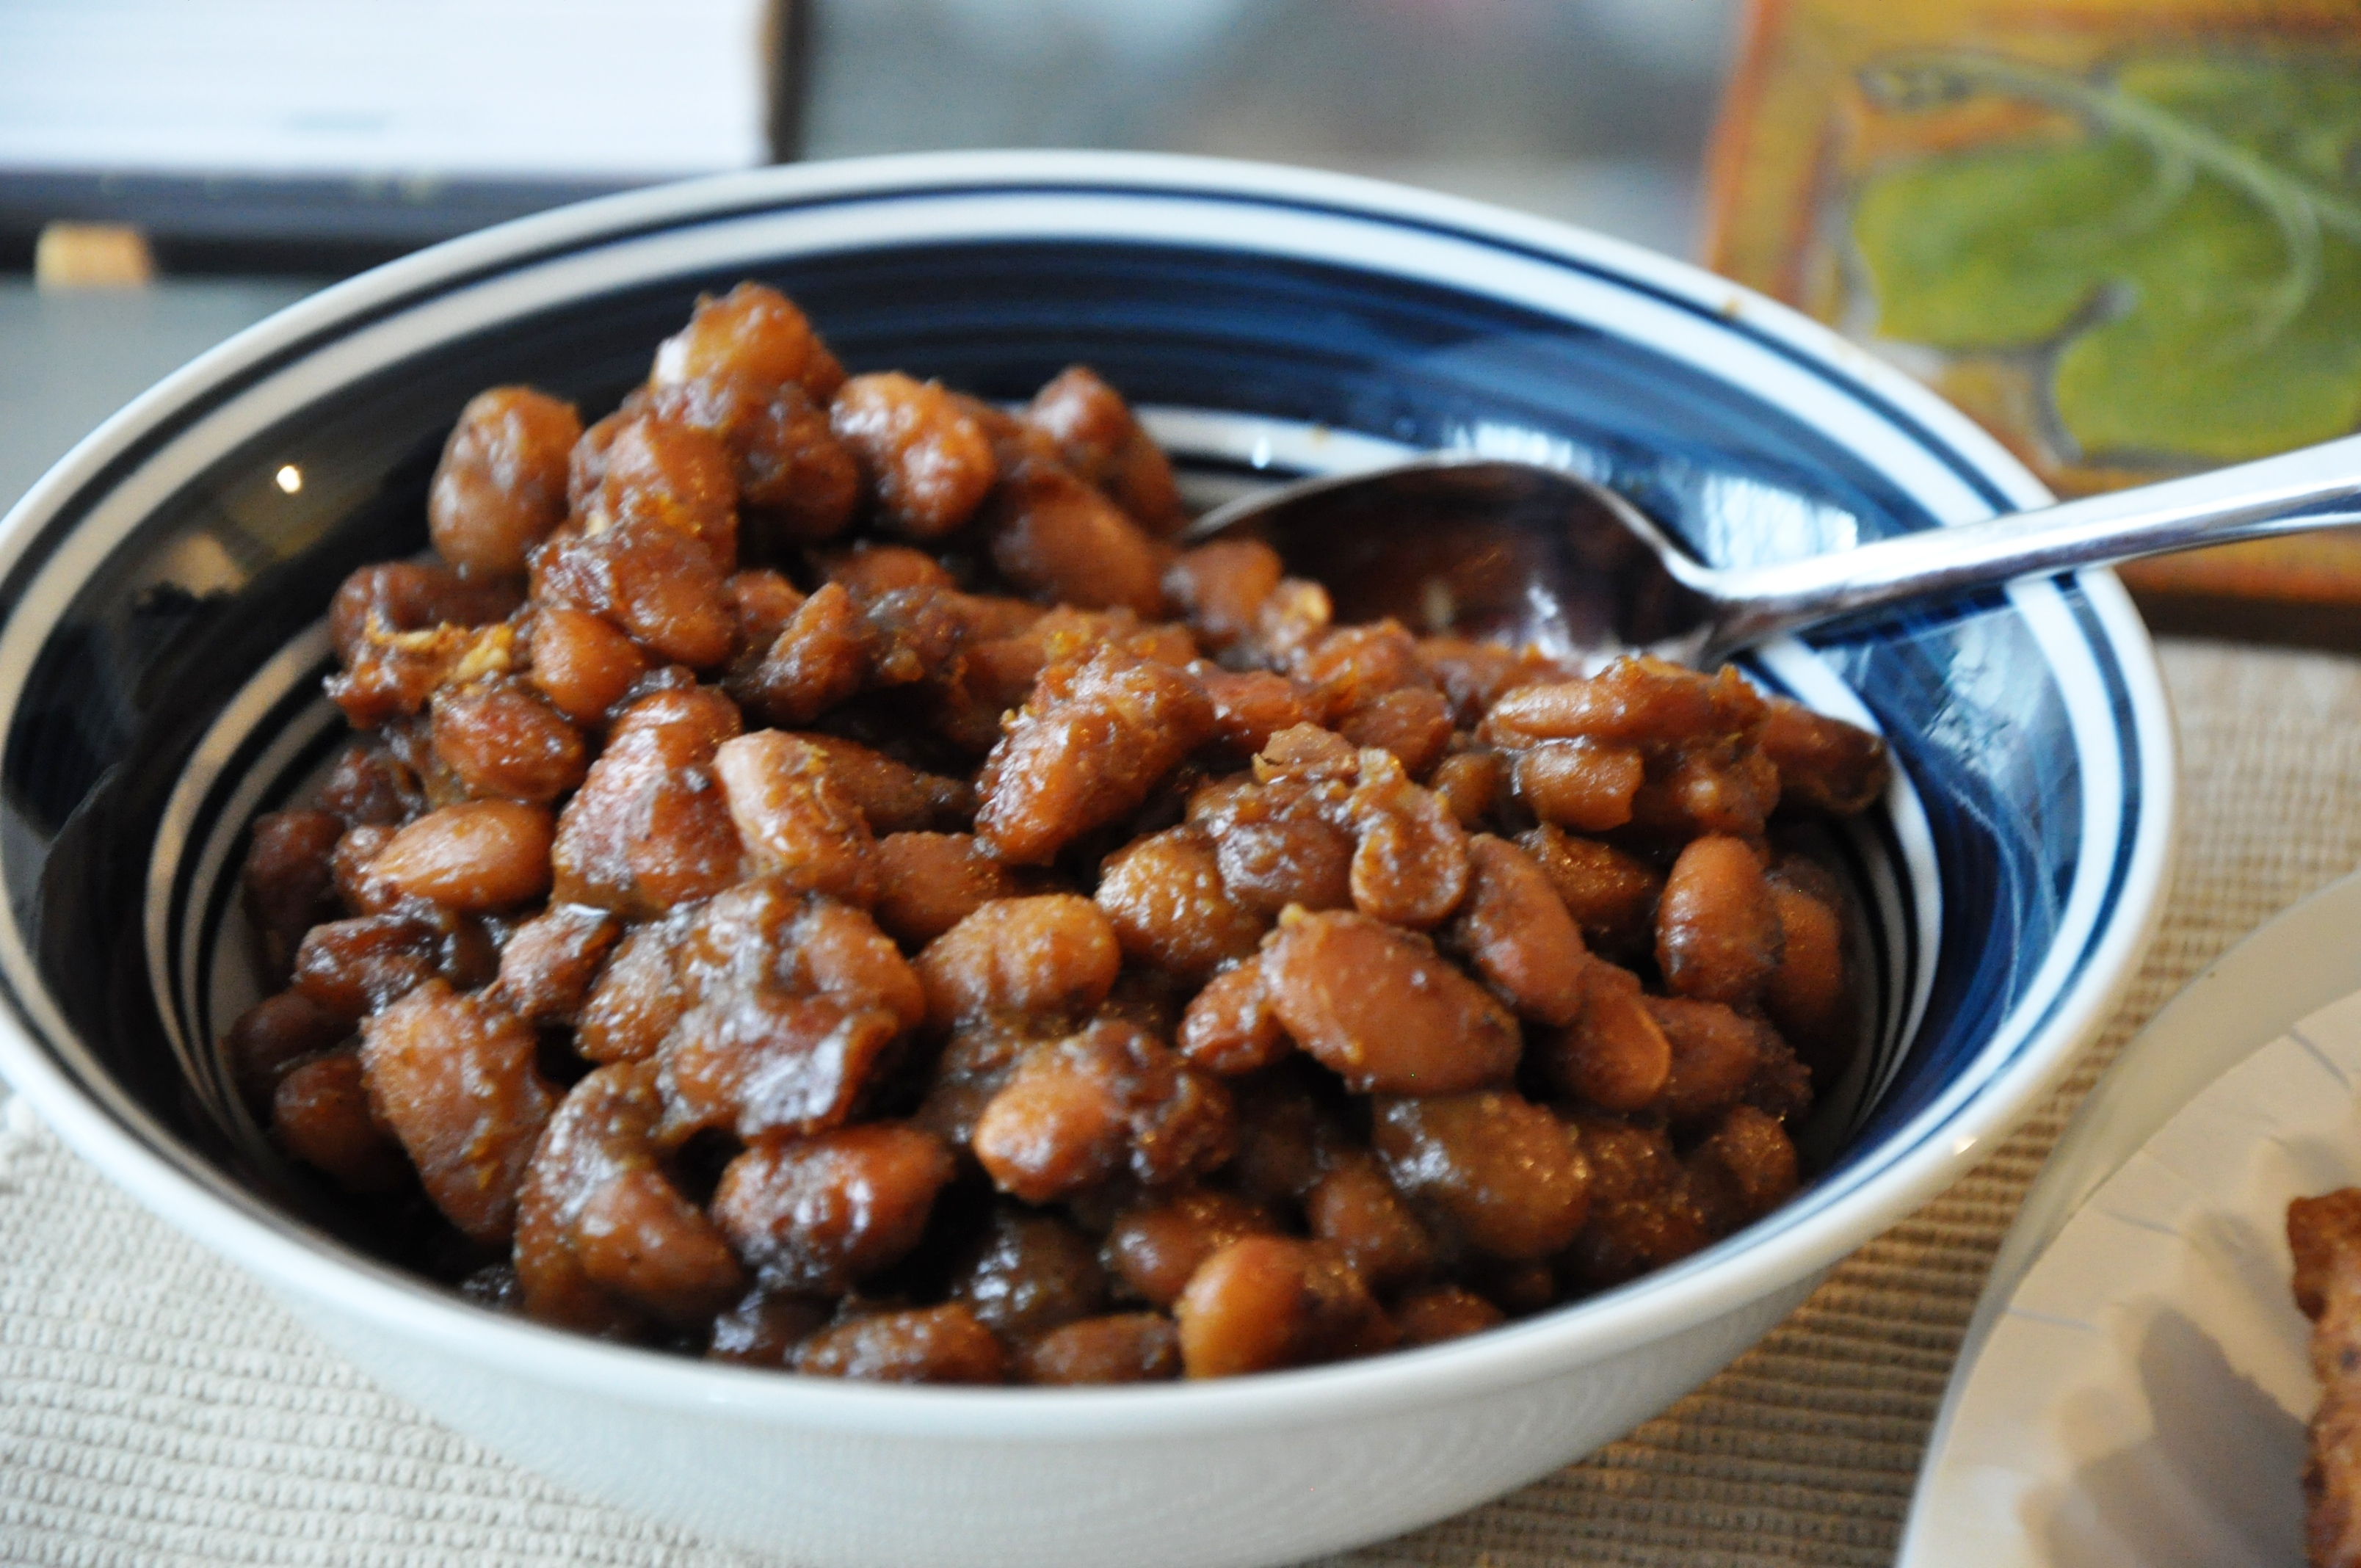
The secret to success for delicious BBQ-style beans is the sweet onion flavor. If you are out of onions, substitute with a generous amount of onion powder to taste. (I do this often if I’m feeling a bit lazy).

Ingredients

2-3 slices of turkey bacon from humanely raised source (omit if vegan or vegetarian)

1 yellow onion, diced

3-4 cups cooked pinto beans (or 3-4 14oz cans, drained and rinsed)

3/4 cup water

1/4 cup light or dark brown sugar, packed

2 Tablespoons molasses

1 Tablespoon yellow mustard

1/2 teaspoon each of salt and pepper

Directions

In a large non-stick skillet, fry the bacon and transfer the bacon to paper-towel lined plate. Pour excess grease/oil into a bowl to discard in the trash later.

With some of the flavored oil remaining, saute’ onion until tender.

Add the remaining ingredients and, if using, crumble the bacon into the bean as well.

Simmer on medium-low heat until the liquid has thickened.

Serve warm.


Creamless Mushroom Soup

So warm and savory, this thick and creamless mushroom soup is good for just eating with a slice of your favorite gluten-free bread or using to prepare your green bean casserole for Thanksgiving. Make a double or triple batch if you want to fill up your freezer to have on hand for other recipes that call for cream of mushroom soup. This has all of the flavor that we love and we don’t miss the cream (or the preservatives!). Be sure not to leave out the celery seeds, it really rounds out the flavor and makes it more like what you’re familiar with. If you don’t have celery seed, add 1/2 cup of finely chopped celery and saute’ with the onions and mushrooms.

Creamless Mushroom Soup


Creamless Mushroom Soup

3 cups water

2 cups mushrooms, finely chopped

1 large yellow onion, finely chopped

2 Tablespoons of tapioca starch mixed with 1/2 cup of water

2 Tablespoons of onion powder

1 teaspoon of garlic powder

1 teaspoon of salt

dash or two of ground thyme

1/4 teaspoon of celery seed

cracked black pepper to taste

Directions:

In a large saucepan, add a little bit of oil and saute the onions and mushrooms until tender.

Add the remaining ingredients and simmer until thick and bubbly.

That’s is it!

Enjoy!

Press (Don’t Roll) This Easy Allergen-free Vegan Pie Crust

This pie crust will hold and carry your favorite pie filling just like the old gluten versions. The taste and texture is firm and what you’d expect for your pumpkin, apple and sweet potato pies. If you like your crust to have a touch of sweetness, such as for a cold banana cream pie, add two Tablespoons of sugar.

pie crust 2

Easy Gluten-Free/Dairy-Free Pie Crust

2 1/2 cups of Basic Gluten-Free Flour Mix or your favorite all purpose gluten-free flour mix

1/2 teaspoon salt

1 teaspoon xanthan gum

3/4 cup of Spectrum Organic non-hydrogentated shortening (or use soy-free Earth Balance*)

6-8 Tablespoons of ice water

Directions:

In a large bowl, stir together the dry ingredients.

Using a pastry cutter, cut in the shortening or Earth Balance until it resembles a sandy, course crumb texture.

Add the water until you have a thick dough. If you have added too much, work the dough on the counter until it is a firm, soft consistency and does not stick to your hands.

You can’t really roll this dough because there is no stringy gluten in it, so this will behave more like a shortbread cookie crust.

Spray or coat the pie dish with vegetable oil. This is an important step as gluten-free pie crust will want to adhere to the dish when it cools.

Shape into a large disk and set in the middle of the pie dish. Press firmly until it is coated.

If your recipe calls for pre-baking the pie shell, you will definitely want to cover with foil and add pie weights or beans to keep it from shrinking down.

I pre-baked mine according to my recipe without problem, and then I baked my regular pie in it. You will note that it is a bit firmer and does not brown as easily as traditional pie crust, but, in the world of pie-baking, these traits are actually desirable.

Enjoy!

*P.S. I have heard that the pea protein in Earth Balance is related to peanuts and therefore can cause an allergic reaction. I am not sure about this yet, but to be safe, use the shortening.

Cranberry-Apple & Poblano Chutney

Make Thanksgiving a little more interesting this year by taking advantage of the fresh cranberries, apples and peppers that are available. This quick and easy chutney is allergy-friendly and a perfect accompaniment to provide that sweet zing to your main dish.

cranberries 2

Cranberry-Apple and Poblano Chutney

1 12ounce bag (3 cups) of fresh cranberries

1 teaspoon fresh grated ginger

1 cup of sugar

1 green apple, peeled and cut into small pieces

2 large poblano peppers, cut into small pieces

1/3 cup raspberry jam (preferably and all-fruit spread made from real sugar)

1 teaspoon ground cinnamon

1/4 teaspoon ground cloves

1/2 cup raisins

1/2 cup sunflower seeds*

Directions:

Rinse the cranberries and remove any berries that look discolored and no longer good.

In a large saucepan, add the cranberries and enough water to almost cover them. Put the heat on medium high and add the remaining ingredients EXCEPT the raisins and sunflower seeds.

Bring to a boil, stirring occasionally. Once you hear the cranberries begin “popping,” lower the heat and simmer, uncovered, for about 15 to 20 minutes, stirring occasionally, until slightly thickened (it will get thicker when it cools down).

Remove from heat and stir in the raisins.

Transfer to a bowl to cool to room temperature.

Once it is cooled down (you may even want to wait until time to serve), add the sunflower seeds. This ensures that they don’t get cooked and stay crunchy. *You’ll note that the picture I took is a version that I made with pecans. It is NOT RECOMMENDED to use nuts in this recipe for larger gatherings. I am having a very small gathering where I am 100% positive that no one is allergic to nuts.

I have made this before with sunflower seeds and it was delightful. Stick with using sunflower seeds and everyone have a safe and happy Thanksgiving!


Chocolate Chip Cookie Dough Truffles: No Eggs, No Worries, and So Much Fun!

Chocolate Chip Cookie Dough TrufflesThis is what happens when a foodie realizes some of the benefits of allergen-free cooking and baking. The pleasure of eating raw cookie dough. And I will admit that this recipe was a happy accident.

Two weekends ago, I picked up a bag of Bob’s Red Mill Shortbread Cookie Mix because I needed a shortcut. The last cake order was an ambitious and time-consuming project and I needed to make cookies shaped like firewood for the campfire cake – stat! I was already getting behind with three failed attempts on allergen-free strawberry cake. So, to experiment with an egg-free, dairy-free, gluten-free cookie dough that would hold it’s shape? No way.  Go for the sure thing. That’s what baking-mix-friends are for.

I had noticed the Bob’s Red Mill Gluten-Free Shortbread Cookie Dough Mix on the shelves nearly every time I’ve gone into the store. Until this great hour of need, I have avoided the gluten-free shortbread mix. This might be surprising to some, as my pantry is stocked with just about every gluten-free product produced by Bob’s Red Mill. But not the shortbread one. Why? For some reason I felt that since most shortbread cookies were pretty dry, I could only imagine how dry a gluten-free version would be.

Well, I was wrong. The Bob’s Red Mill Gluten-Free Shortbread Cookie Mix was so soft and pliable and perfect.

When I made the cookies, I had some dough leftover. Since I had substituted the egg with 1/4 cup of vegetable oil, there was no worry of salmonella. What a great feeling to just be carefree about cookie dough! I brought my guys into the kitchen and we had little bits of delicious shortbread cookie dough. The taste was similar to chocolate chip cookie dough, though less intense. So, I decided to see if we could turn it into that.

I added some dairy-free chocolate chips, a little bit of brown sugar, a little bit of vanilla extract and touch more salt. Did it work? Oh my yum… did it ever.

The other night, I made some again without any intention of baking them. I didn’t add the brown sugar and salt like I did before because I was in a hurry. It was still pretty good, but  I finally had a chance to add the brown sugar, vanilla and salt, and it just makes it so… “choco chippy cookie doughy.”  Yes, I said it. And even though Valentine’s Day isn’t here yet, these treats absolutely deserve to be surrounded by hearts. They are so wonderful.

Best of all, they are free of many common food allergens. They are dairy-free, gluten-free, egg-free and I think they might be soy-free but please double check on that. I do not know about the nuts either. I was so much enjoying this that I got distracted. Shame on me – lost in treat land. But, I will make this again and amend this post with that information.

Make and Merrily Eat!

Chocolate Chip Cookie Dough Truffles

1 bag of Bob’s Red Mill GLUTEN-FREE Shortbread Cookie Dough Mix

1 bag of Enjoy Life Dairy-Free, Nut-Free, Soy-Free Chocolate Chips (use only 1/2 cup for the cookie dough)

3/4 cup of your favorite solid fat (Spectrum Shortening, Earth Balance or Coconut Oil. Do not use coconut oil if avoiding nut allergies).

1/4 cup vegetable or canola oil (to replace the egg)

1/3 cup dark brown sugar, packed

1/4 tsp salt

1 teaspoon of vanilla extract

About 1/4 cup of water (just enough to get the dough to stick together)

Directions:

Prepare the Shortbread Mix with the ingredients listed above. Reserve the remaining chocolate chips.

Roll into bite size truffles and set on a sheet of waxed paper.

Melt the remaining chocolate in a small saucepan over low heat. Stir constantly until the chips are melted. Note: do not add liquid to these chocolate chips, they don’t behave like the dairy ones. If you add liquid, it will actually turn hard and form into a clay-like texture. (I don’t know why – yet. It is pure cocoa butter and seems to behave differently than cocoa butter that has been cooked and blended with milk or cream.)

Once the chocolate is melted, pour gently over all of the cookie dough truffles. Roll them around to make sure they are fully covered in chocolate. You can also add some Sunbutter to the mix if you like that flavor.

Transfer the truffles to a baking sheet or container lined with waxed paper and put them in the refrigerator so that the chocolate will set.


French Fries From Scratch – Much Easier Than I Thought

Collage part 2Most food-allergy sufferers cannot order french fries, even if they can eat potatoes.  Why is this? While they sit and watch their friends and family enjoy heavenly crispy morsel after another (french fries are very popular for a reason), the food-allergy sufferer must think of all of the allergens that have been in the frying oil such as breaded chicken, dropped bits of beef, cheese and (for people who suffer from nut allergies) the oil itself is in question. Many restaurants cook french fries and other things in peanut oil. For peanut-allergy sufferers, they can’t even walk into a restaurant using the oil because it gets everywhere. Soy oil is also problematic.

And even if one could go into the restaurant and be okay, how horrible is it to sit there and take in the intense and tempting aroma of golden fries right out of the cooker? I am no psychology expert, but I can say first hand that it is a special kind of torture. And the longer it goes on, the more intense it is. For this reason, food-allergy sufferers have altogether stopped going into fast food chains and restaurants because it’s just too depressing not to be able to order the fries. Lucky for my family, my strong cravings for these things became a bit overwhelming , resulting in a strong intent to learn how to make them once and for all.

Honestly, french fries shouldn’t be unfriendly to the food allergic. When simply prepared in the right oil, they are crispy, salty, delicious hot morsels of heaven that are safe for everyone. And what joy is this? To master the art of preparing french fries?  I really thought it was going to take me several weeks to months (as has the gluten-free baking experiments). Ultimately, it was not as overwhelming of a task as I had thought.

I won’t lie, it isn’t initially easy if you don’t know the art of the fryer. But, aside from my continuing biscuit experimentation, this is a much quicker learning curve. Potatoes are a little finicky. They need time and/or surface area to cook. At first I tried to oven fry them and that took way too long – mostly because I cut them too big. And then I tried a soak and oven bake method, along with a frying method while I was waiting for the oven fries. All of those fries came out with decent results but the process was just too long and time-consuming. I don’t have time to soak and dry and all of that. When you want fries, you want them ASAP. So, I skipped all of the soaking that my tome of cooking wisdom instructed me to do and cut them smaller (which creates more surface area for cooking), and everything came out just the way I wanted.

So, here is how to do it. Remember, it’s an art. So forgive yourself as you learn the nuances of how the oil behaves according to your burner. And don’t walk away from the fries… ever. (Trust me on this).

Directions:

Note:  don’t let the oil get too hot because once it reaches the smoke point, your fries are going to taste burnt. Once your oil reaches the frying temperature of “water test” (when you put a tiny drop of water in the oil and it sizzles), keep it at a medium to med-high.

So, learn that, know it, and fry some heck out of your fries.

You will need

– russet potatoes (a 5 lb bad will do). Figure about 1.5 potatoes for each person.

– canola oil or a vegetable oil that has a high smoke point (do not use olive oil)

– salt

– ketchup (if you like it)

1. Peel, wash and cut your potatoes into french fry shapes (about 1/4 inch thick). If they are too big, they are going to take longer to cook. I cut about 4 russet potatoes for the 3 of us.

2. Warm about 1 inch of oil in a heavy bottom large deep skillet. (Do not use non-stick skillet as it will warp – they are not meant for deep frying).

3. Drop the french fries in the pan, but not too many. Just enough to cover the bottom of the pan as you want all of the fries immersed in the oil.

4. Cook for about 10-15 minutes. Look for a very deep golden brown color. If they are light brown, they might be soggy.

French Fries Ready
This is the color you want before you take them out.

5. Scoop them out and set onto a plate lined with paper towels to absorb the oil. Salt fairly generously – be careful with the salt. Too much and they’re ruined. You can always add a little more and a little more. Salt while they are hot or the salt won’t stick to the fries. I used the edges of the paper towels to shuffle the fries around in the salt.

There you go! Fries craving = Satisfied. (The boys loved them, too).

Easy Allergen-Free Weeknight Dinner Series: Blackened Chicken with Orange-Jalapeno Coleslaw

blackened chkn with slaw A vibrant slaw made of purple and green cabbage with shredded carrots, spring onions and jalapenos  are tossed in a bright teriyaki-orange vinaigrette and topped with blackened chicken to make for a gorgeous late summer dinner that is just as much fun to eat as it is to see. My son loved it and asked to have some for his lunch.

If you are allergic to sesame: replace the 1/2 cup sesame oil with 1/2 cup fragrant olive oil mixed with a Tablespoon of sunflower seed or pumpkin seed butter. (Sunflower seed butter often has soy in it, ask if anyone has a soy allergy). And then replace the sesame seed garnish with plain shelled and salted sunflower seeds (make sure you check the ingredients label on this because roasted sunflower seeds are often roasted with allergenic ingredients such as wheat and dairy).

If you are allergic to chicken: Replace with another protein of choice, or omit it entirely as this is very good by itself.

Blackened Chicken with Orange-Jalepeno Coleslaw

For the chicken:

1 2-lb package of skinless chicken thighs (or breasts if you prefer)

2 Tablespoons of chili powder

1 Tablespoon of powdered garlic

1 teaspoon of ground coriander, cardamom or allspice (one of those will add a touch of sweetness)

1 teaspoon each of ground mustard, ground ginger, onion powder, salt and pepper

Coat the bottom of a large skillet with vegetable oil of choice (make sure the oil is allergen-free) and heat to medium high heat. Then mix the spices on a plate and coat each piece of chicken with the spices. Place the chicken in the hot oil and let cook for 3-5 minutes until thoroughly seared and blackened. Turn the chicken and sear for a minute or two. Add a little water, cover the skillet and let simmer while you are preparing the slaw. A long simmer will thoroughly cook the chicken and if you cook it long enough, it will break down and become “shreddable.” Just make sure you check on it often and add water if needed.

For the coleslaw:

1/2 head of red cabbage, sliced very thin or shredded in a food processor

1/2 head of green cabbage, sliced very thin or shredded in a food processor

~(feel free to try different varieties of cabbage for fun and/or add other greens)~

4 carrots, coarsely grated

4-6 green (aka “spring”) onions, slivered

4 jalepenoes, slivered (Note: Cut around the seeds. The seeds will burn your fingers and will add significant heat to your slaw. I omit the seeds for this reason but you may add a few if you want the heat. Use gloves if you are not adept at avoiding the seeds.)

1/2 cup raisins (or dried cherries, cranberries, mangoes, or apricots) – omit if you don’t like dried fruit in your salads

For the dressing:

1/2 cup (gluten-free) sesame oil or 1/2 cup olive oil mixed with 1 Tablespoon of sunflower seed or pumpkin seed butter

1/2 cup gluten-free rice vinegar (both seasoned and unseasoned will work, always check for allergens)

1 Tablespoon of gluten-free tamari (This is important to get gluten-free. Most soy sauces are made from wheat. Gluten-free soy sauces are made from soybeans instead of wheat – always be careful with soy sauce and ask if the people you are serving have a soy or gluten/wheat allergy. If you there are allergies to both soy and wheat, omit the soy sauce and substitute with 1 teaspoon of salt mixed with 1/2 teaspoon of dry mustard)

1 Tablespoon of orange zest

1/4 cup of fresh squeezed orange juice

1 teaspoon of finely grated ginger

2 Tablespoons of sugar

2-3 dashes of Sriracha sauce (optional)

For garnish: 1/2 cup of toasted sesame seeds, sunflower seeds or pumpkin seeds (check label for allergens)

Chop and wash your veggies and combine in a large bowl.

Using a jar with a lid, shake the teriyaki-orange vinaigrette until well blended and pour over the coleslaw. Toss the coleslaw in the vinaigrette and serve on plates topped with the warm blackened chicken and garnish with the sesame, sunflower or pumpkin seeds.

Serves 6-8

(Make extra chicken if serving more than 6)

Easy Allergen-Free Weeknight Dinner Series: Chili Lime Tortilla Soup with Red and Black Beans

Multi-Bean Chili Lime Tortilla Soup with Harissa Olive Oil

One of my favorite things to eat when I was younger was white chicken chili from a pub around the corner from my college. It was loaded with lots of butter, milk and cheese (of course). But I haven’t stopped craving those flavors. With this version, the green chili and lime flavors, along with a bit of the meal from the crumbled tortilla chips or taco shells, add the body and flavor that I’ve been wanting. If I don’t post this now, I’ll forget how I made it. 

The lime juice makes it, so if you can, try to get a lime. If you don’t have a lime, use your favorite vinegar based hot sauce to add the acidic component that this needs to be just right.


Chili Lime Tortilla Soup with Red and Black Beans

Serves 2 – Double or triple the recipe for a family

In a medium saucepot, add the following ingredients:

1.5 cups of broth (CHECK FOR ALLERGENS BEFORE USING)

1 (14 oz) can of black beans, drained and rinsed

1 (14 oz) can of dark red kidney beans, drained and rinsed

1 (8 oz) can of green chilis

2 taco shells or a handful of tortilla chips or fritos style chips crumbled into the soup (CHECK FOR ALLERGENS BEFORE USING) – this will thicken the soup as it cooks.

1 Tablespoon each of cumin, chili powder, garlic powder, onion powder

salt and pepper to taste

Bring to boil, then turn down heat to simmer for about 15 minutes to develop the flavors.

Take soup off of heat . Add 1/4 cup of non-dairy milk and the juice of one lime.  Taste and add salt if needed.

Serve in bowls and give your family more taco shells or tortilla chips for crushing. Enjoy!