Dear Friends and Family,
Please read this letter of explanation about my son’s diet as your understanding will help me ensure that he stays feeling good, growing and thriving. I will be as short and sweet as possible.
One year ago today, I finally had the evidence to conclude that my son’s intense stomach pain, and sometimes vomiting, occurred when he would try to digest wheat/gluten AND dairy. The difficulty was presented with the symptoms continuing at certain times, but not at others. An allergist confirmed that he also developed a severe allergy to dairy. A specialist at Children’s Hospital of Philadelphia confirmed that wheat and diary proteins are very similar in molecular structure, which is why when gluten is not tolerated, often diary is also not tolerated.
What I would most want your help with, is understanding that diary allergy is nothing like lactose intolerance. Lactose intolerance means that dairy can still be digested but that there is not as much enzyme in the stomach to digest lactose as there used to be. Lactose intolerance can range in severity. I happen to have mild lactose intolerance, meaning I can eat cheese, yogurt, sour cream and other fermented dairy products including a little bit of real milk in my coffee. Ice cream and milk bother me enough to where it’s just not worth having it, or, I pop two lactaid for a rare ice cream treat.
As for my son, he has a total allergy to the following: milk, casein, whey, gluten and wheat. This means that his body will entirely reject the substance. 1/64th of an ounce of any food item that falls into the gluten, wheat, diary, casein, or whey category means that he will have intense nausea that lasts 24 hours or more, where vomiting doesn’t relieve the nauseated feeling. It also causes damage in his intestines that will last for months.
Please, I beg of you, please don’t experiment with my son. Please trust me. I’ve had a few people say “oh, he should be fine with just a little.” Let me tell you that, absolutely, unequivocally, NO he will NOT be okay with just a little, or if the substance is on the outside of a thing you want to serve him. An allergy is the body’s entire rejection of a substance. And believe me, during the phase that I was trying to figure out why my poor kid was so sick, I have already done enough damage. We’ve already visited specialists and it has cost over $1000 in medical bills to figure it out. Diagnosis: Celiac Disease.
When my son eats wheat, gluten or dairy, the villi in the small intestines get damaged. The villi are needed to draw vitamins and minerals from the food he eats. Once the villi are damaged, it takes 6 months or longer for the body to repair the villi. During that time, the diet has to be free of wheat , gluten and dairy. Any accidental ingestion of said ingredients resets the damage back to square one – plus more villi damaged. This situation can lead to a boy that eats food but becomes severely malnourished. If you don’t believe me, please feel free to speak to doctors you know and/or read information provided in the links on this blog.
The last thing that I would appreciate your understanding on, is that it is not fun for either me or my son to have to live this way and be so diligent about ingredients. It is not fun for me to ask people what ingredients they used. I really hate it. But, I do it for his survival. Any time we go out to eat, about 3/4 to almost all of the menu is unavailable for his consumption. We have to special order and I have to have a dialog with the server about the seriousness of making sure they don’t use butter when grilling his burger, among other things. The kid probably eats way more french fries than he should because that is all they have for him. And I still have to inspect french fries for breading! Luckily, all of the servers we’ve spoken to have been very kind and just as diligent with speaking to their cook and manager about it. But, again, I hate this. It’s kind of embarrassing. It makes me seem like one of those overprotective pain-in-the ass mothers. I am polite as I can be but still, I wish I didn’t have to do this. (Don’t even get me started on the extra cost of special foods. I’m saving that for the article on how to live gluten free and dairy free on a budget).
This is definitely no picnic for my son, either. When my son is invited to a birthday party, he can’t have pizza or cake or ice cream or corn dogs or hot dogs or chocolate or whatever with his friends. So, he feels left out. I pack things for him that he can eat, but still, it’s not the same. Co-workers want to give him candy when he comes by the office, but often, he can’t have any of it. So, my point is this: please don’t take our scrutiny of your food as a personal rejection. I hate being the bad guy, and my son hates both being left out of the fun food and/or suffering a full 24 hours of nausea/vomiting plus malnutrition for 6+ months from as little as 1/64th of an ounce of dairy or gluten protein.
When we visit other homes, I always offer to buy the groceries and cook or go out to eat. Because we know so many generous, loving friends and family, the conversation tends toward the “what can he have?” I hate asking another cook to make concessions for him. That makes cooking for him more of a challenge and less of an enjoyable thing to do. But, if you insist, I want to say “thank you.” And thank you for reading this. And thank you for keeping his intestines intact and his body feeling good and growing. It really means a lot to us that you want to understand and help.
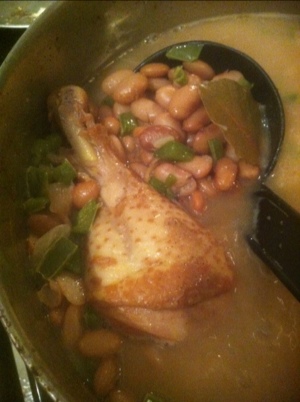
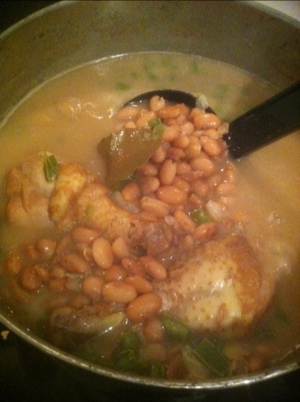
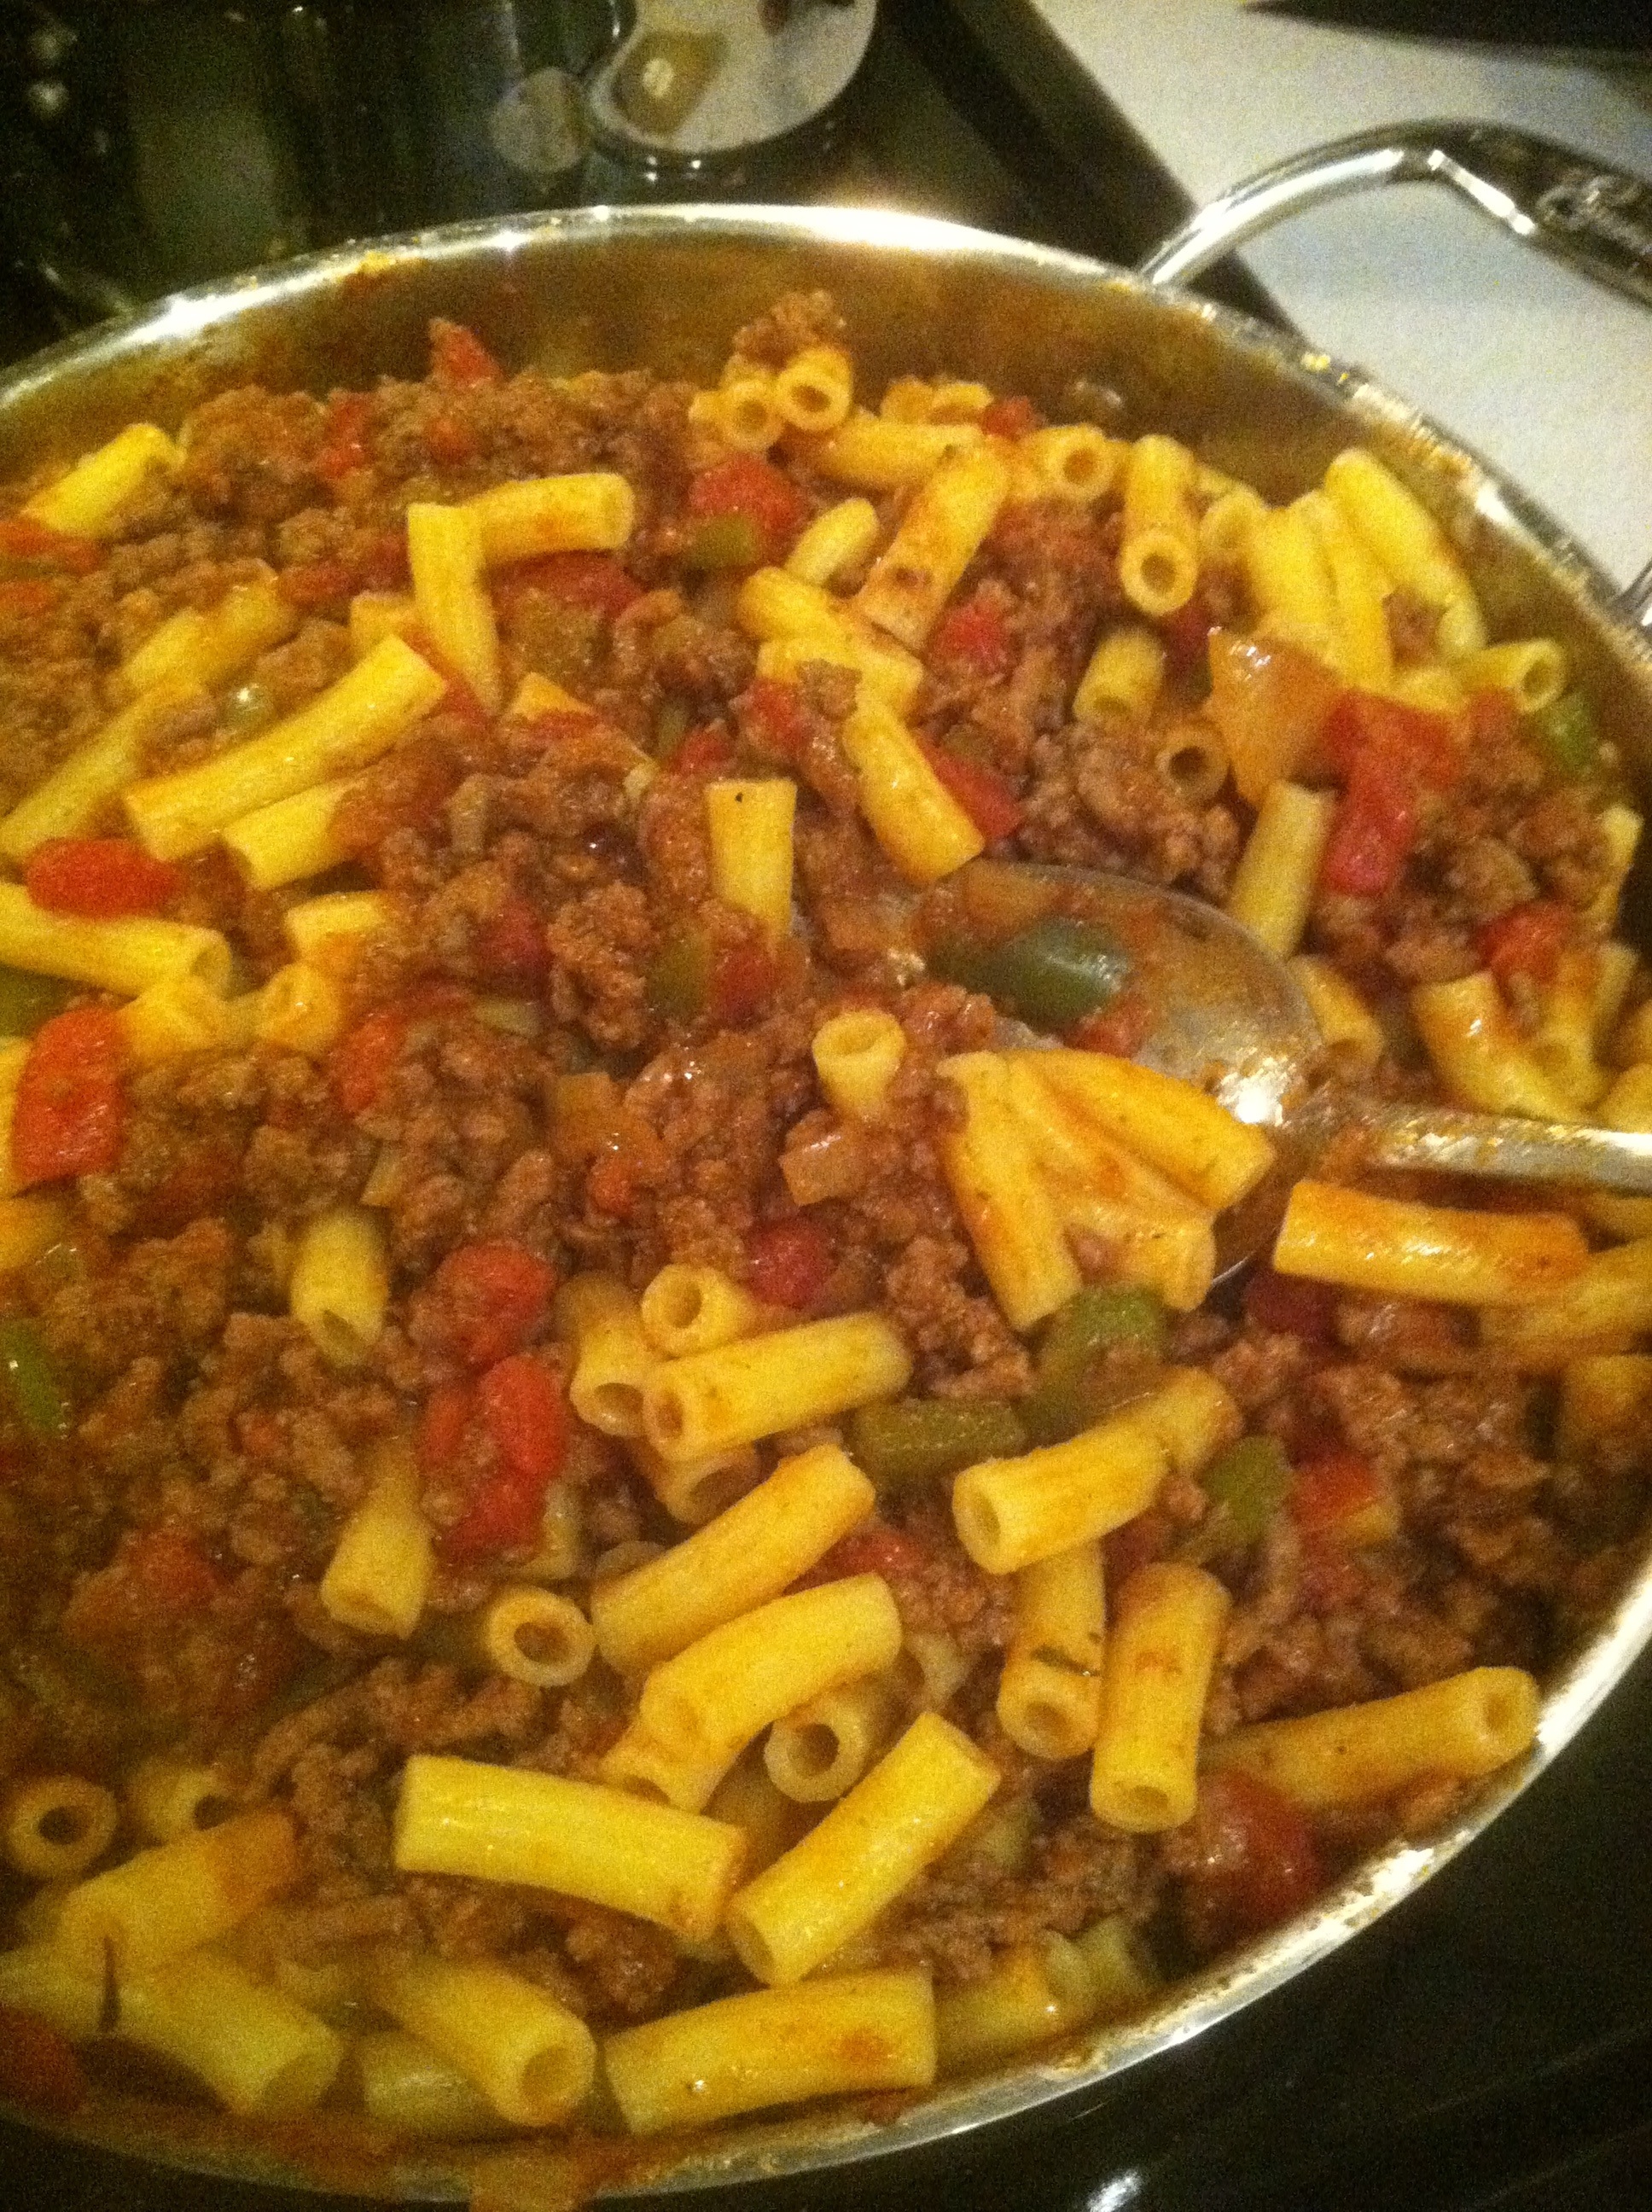
I decided to create this website to make it easier for you to learn what to purchase and how I normally prepare food for him. It would also be for any other person that wants information, recipes, product lists, product reviews, frugal substitutes for the expensive products and advice on going out to eat. I have learned a lot and I have not seen a website that categorizes both dairy free and gluten free information in the way I would like. We can have soy, eggs, and nuts. I apologize, in advance, but this website will have recipes and tips that include eggs, soy and nuts.
In addition, I do not believe in using non-natural ingredients such as artificial sweetener or MSG. In some products, like sausage, things like nitrates can’t always be avoided. But, as my own personal rule, I will not recommend a recipe that has unnatural ingredients nor will I add them to my own.
Thank you for listening. Thank you for understanding. And my very heartfelt, most appreciative THANK YOU for helping us with this diet.
With Much Love,
Michelle

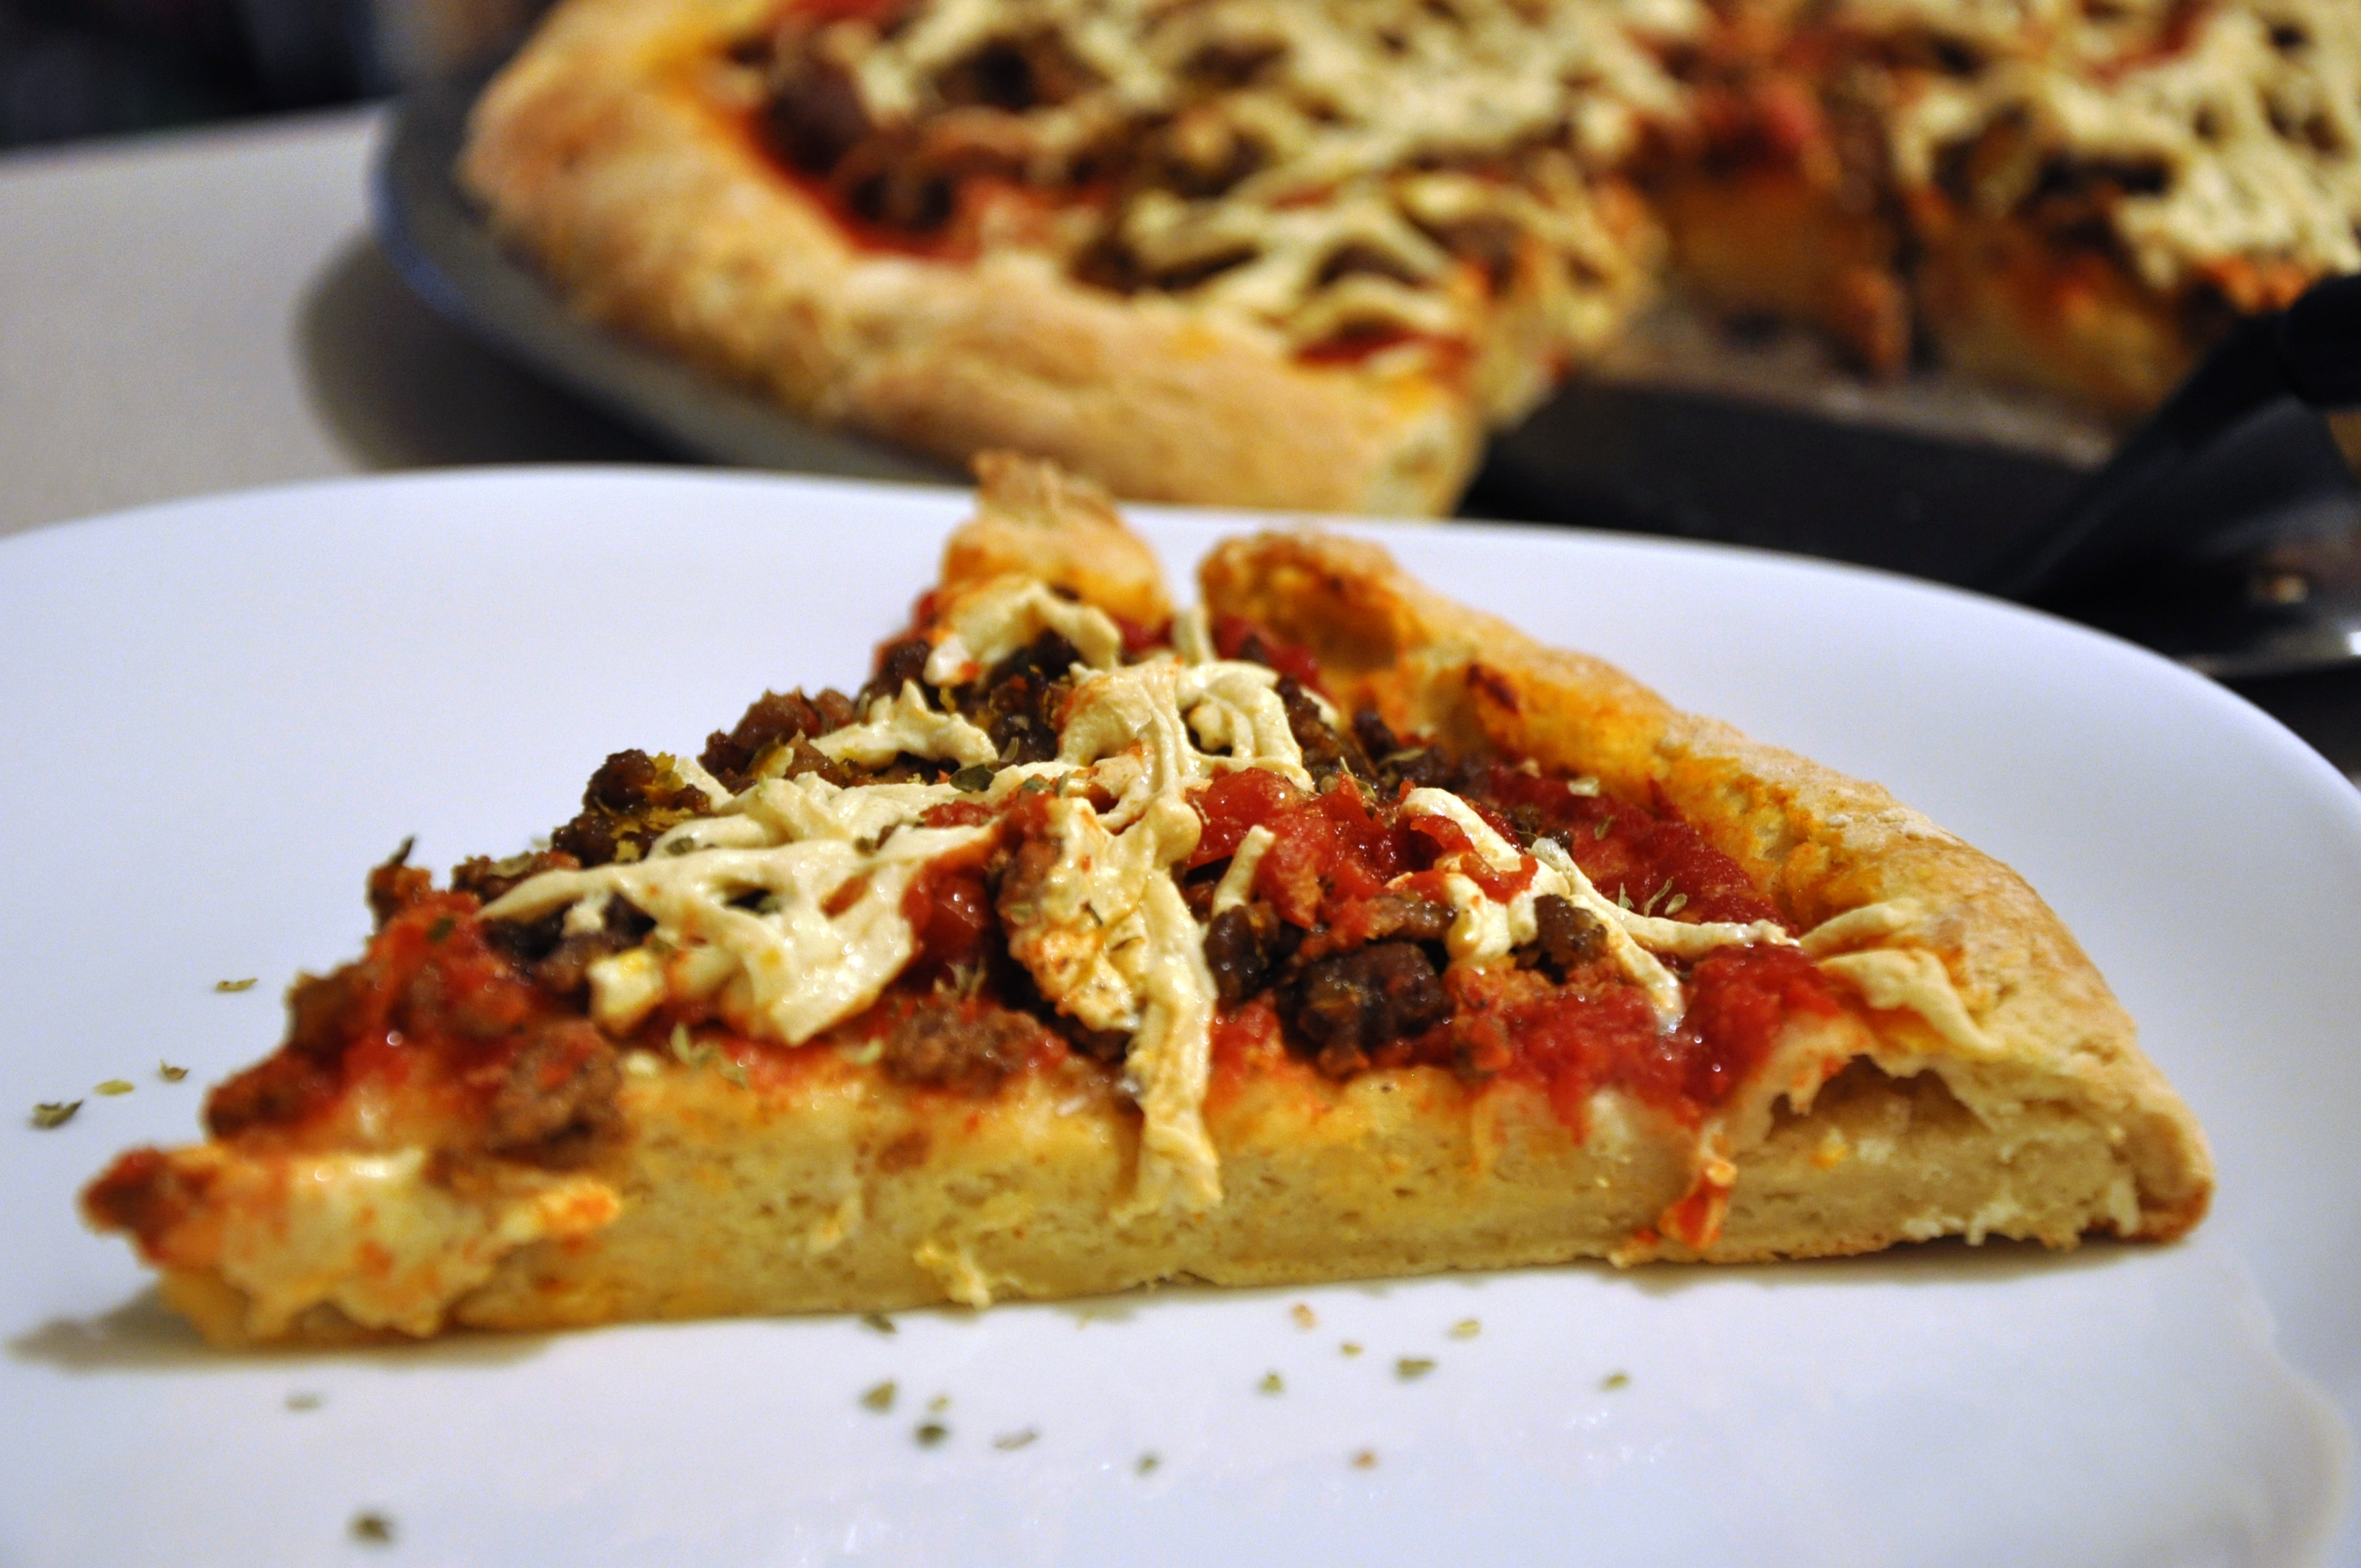 Yes You CAN Pizza! Yes, yes, yes! Delicious pizza that is completely free of wheat, gluten and dairy.